

Earlier this year we challenged our Sewtopia Sewing Club to create something inspired by the Paisley shape. There were no limits to what the outcome or in what medium they could use.
As the day of the Paisley Challenge reveal approached, I worried just a bit if anyone would take up the challenge at all. What if no one brought anything? Boy, was I in for a super surprise! I was totally blown away by the many different avenues the group choose to express their sewing talents.
As you will see by all the pictures below, the challenge had been accepted, and the results were stunning! Thank you all who participated and brought your amazing creations to share with your fellow Sewtopia Sewing Club students.
Click here to see how the Paisley Challenge got started.
My Paisley Challenge
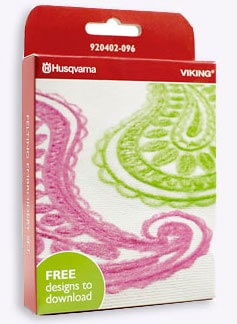
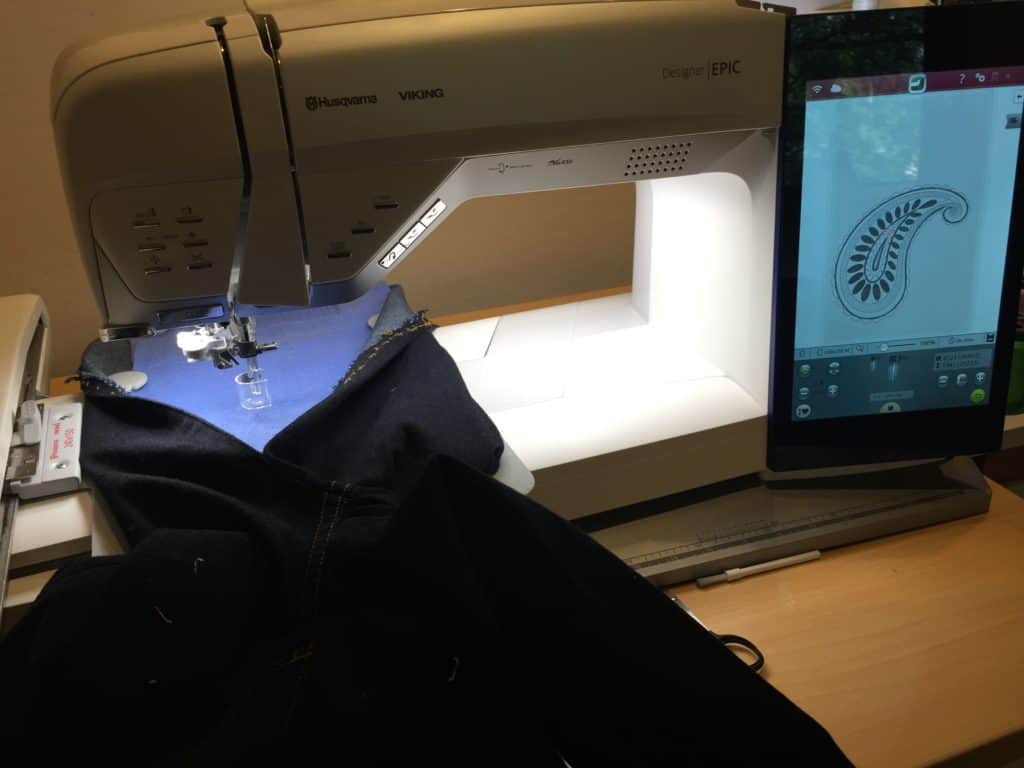
I was inspired to work with the Husqvarna Viking Felting Embroidery Set after discovering that it came with a paisley design.
I usually use Sewtopia Sewing Clubs to try new techniques myself so I have new things to share with the 100+ Sewtopia Club members who attend each month.
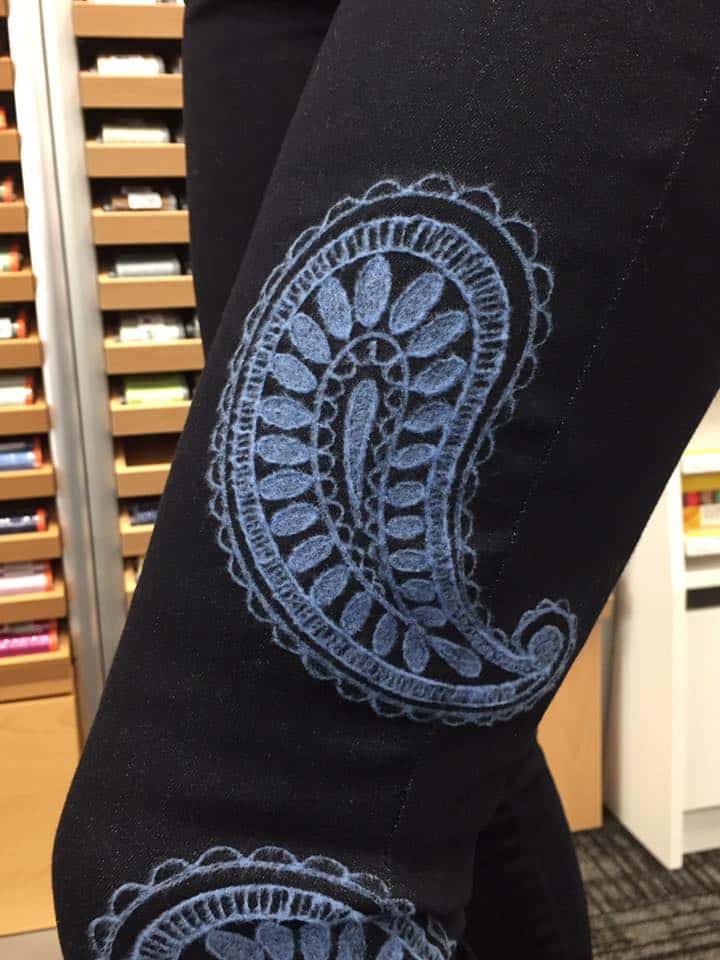
First, I experimented with felting on the embroidery machine on denim. The first important part I discovered about felting this paisley design is that it was going to take about 1 hour per design. This was something to NOT leave to the last minute.
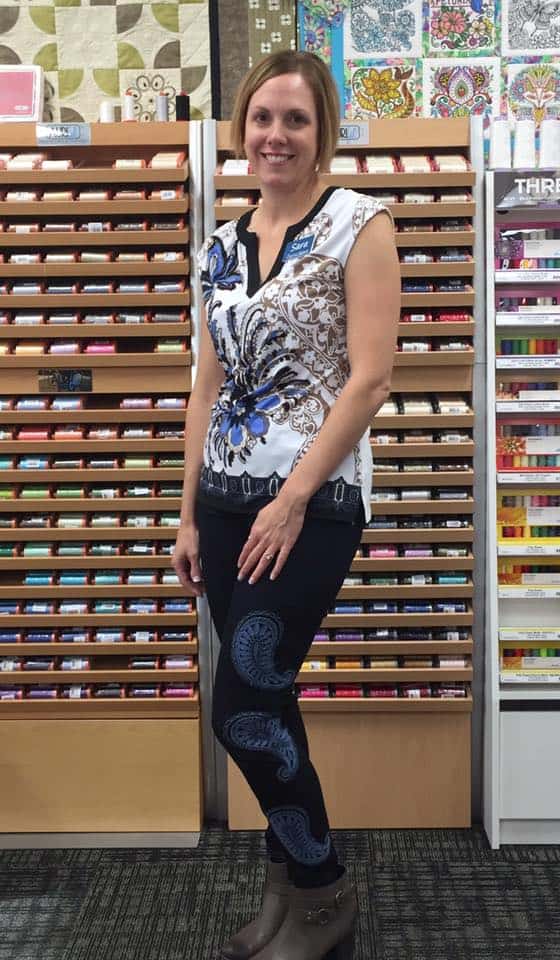
I started to image a row of felted Paisley designs up the side of a pair of jeans that I could wear. After a quick trip to the mall to find a shirt, the color theme started coming together.
I say “quick trip” to the mall because there were Paisley prints everywhere one looked! There were many options as Paisley seems to be trending in the clothing world. Other club members mentioned the same thing. It was not hard to find a Paisley themed top both in summer or Fall colors.
Next, was the art of opening up the leg of a store bought pair of jeans. I was in for quick reminder of the amount of stitching that goes into making a pair of jeans in the first place. Once opened, I used my “test designs” for placement.
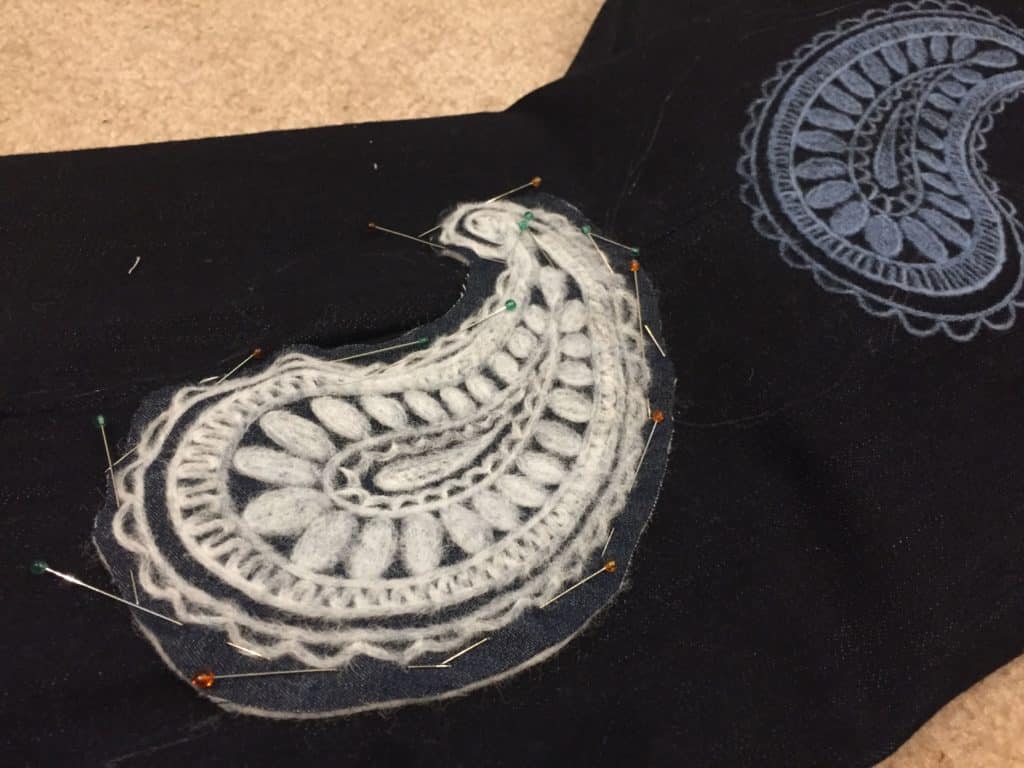
Note to self: always do felting from the wrong side!
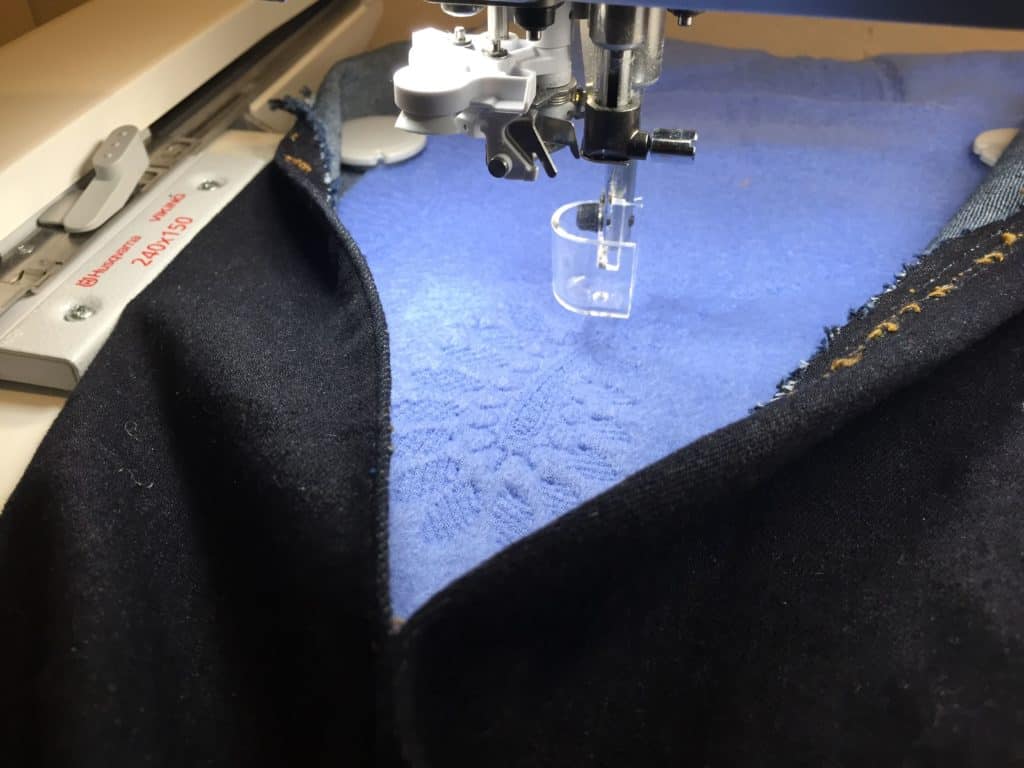
Thank goodness for magnet hoops! With no stabilizer needed for felting, attaching the jean’s pant leg to the hoop with magnets was a huge time-saver.
Three hours later, my three Paisley designs were done! Now comes the re-sewing part of the jeans. This is where having a machine with side-ways motion sewing options helped replace the removed stitching so it perfectly matched the opposite leg.
This picture shows me sewing from left to right with gold accent thread. Perfect match!

Finished outfit!
(I got to wear jeans to work)! Hee-hee!
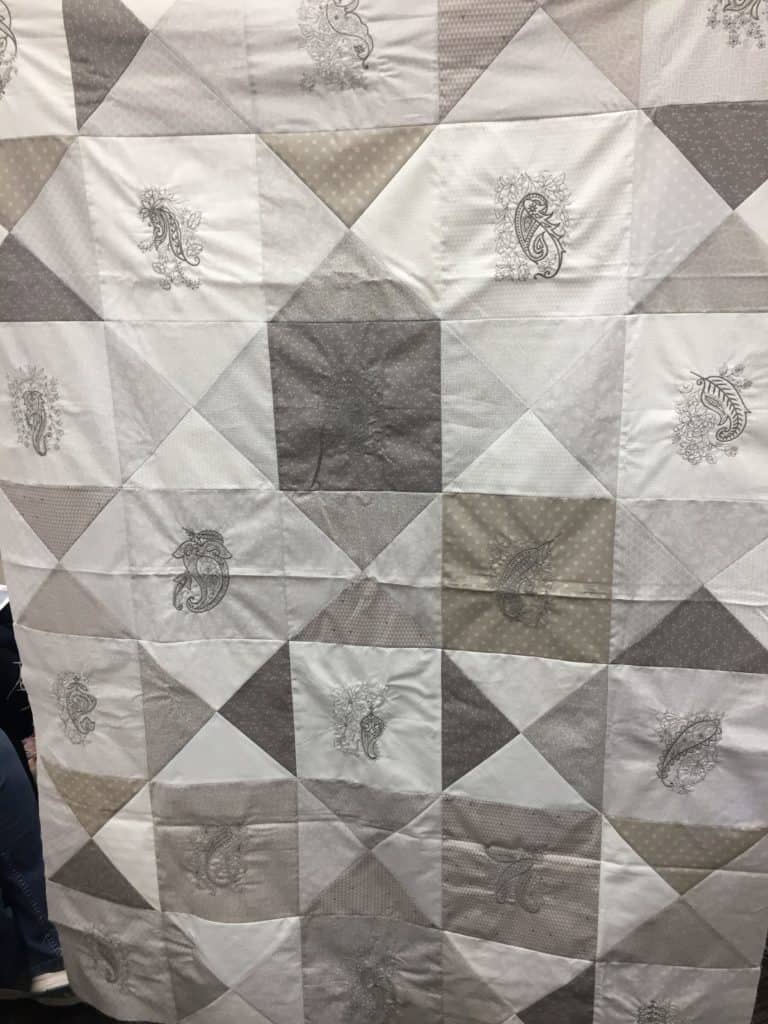
Below are just a few of the projects shown by Sewtopia Club members. Thank you to everyone who was inspired to join in on the fun.
Click here to view the entire collection of Paisley Challenge projects…
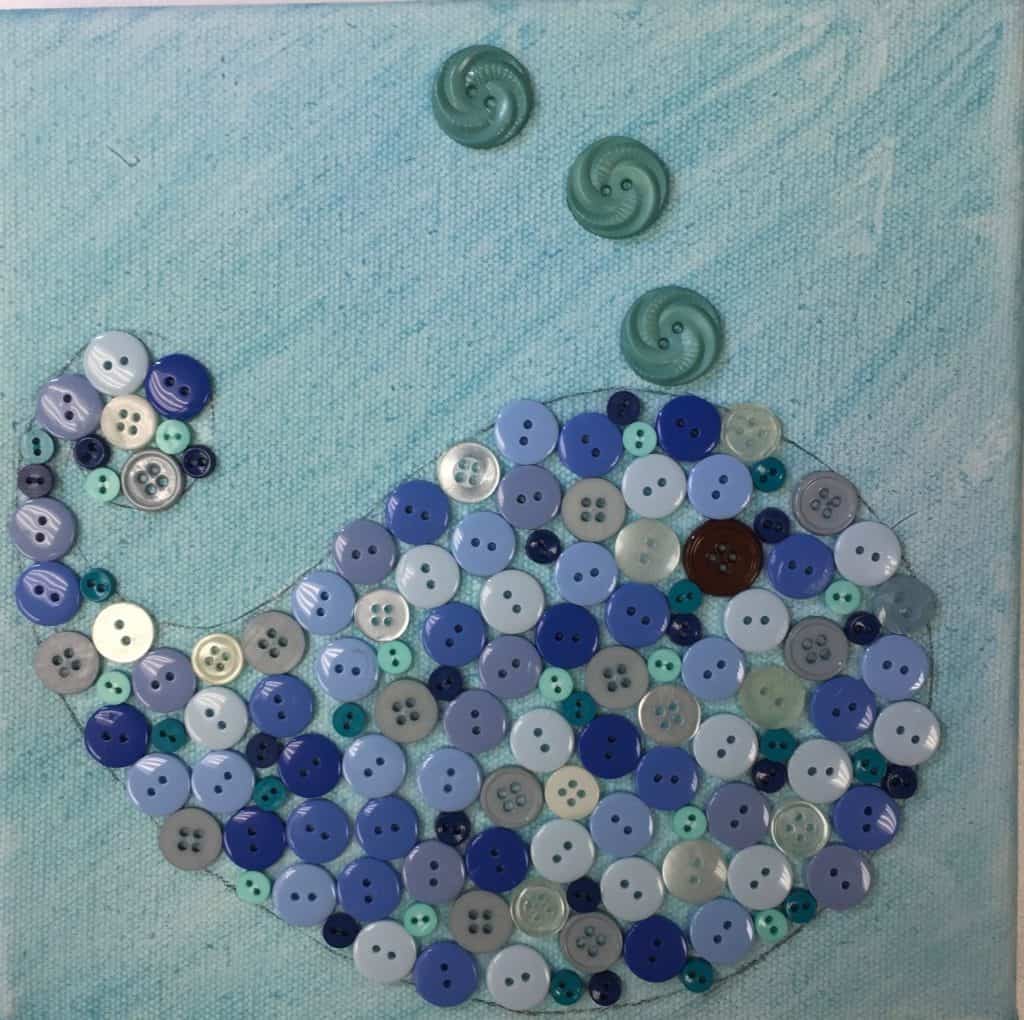
Whales look like the Paisley shape!
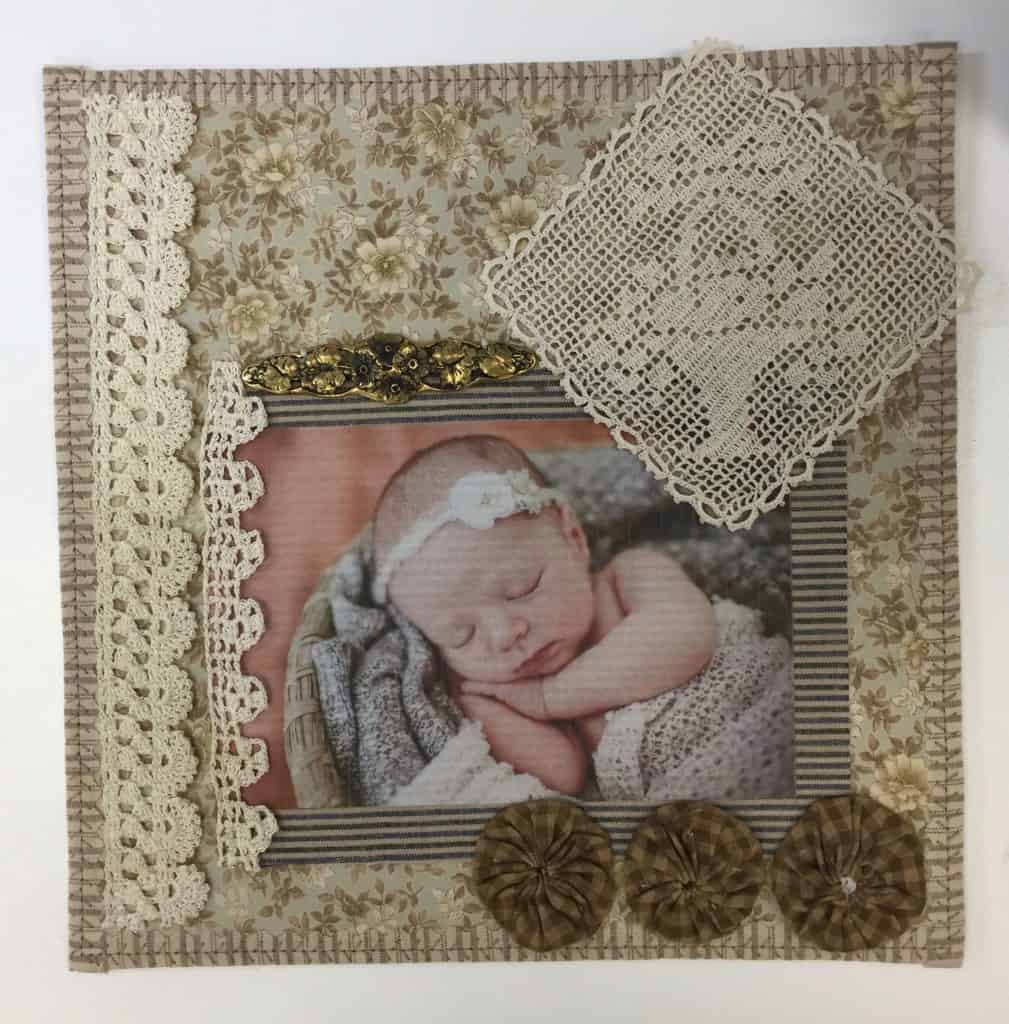
“Hi, my name is Paisley Grace”.
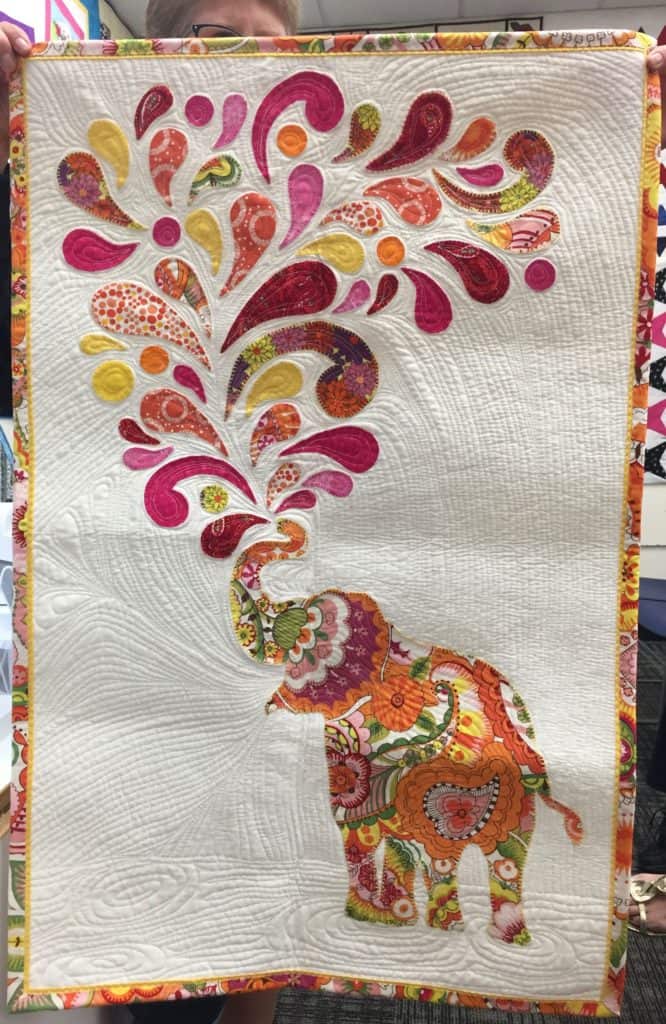
Elephants and Paisley – a perfect match. Check out the amazing quilting too!
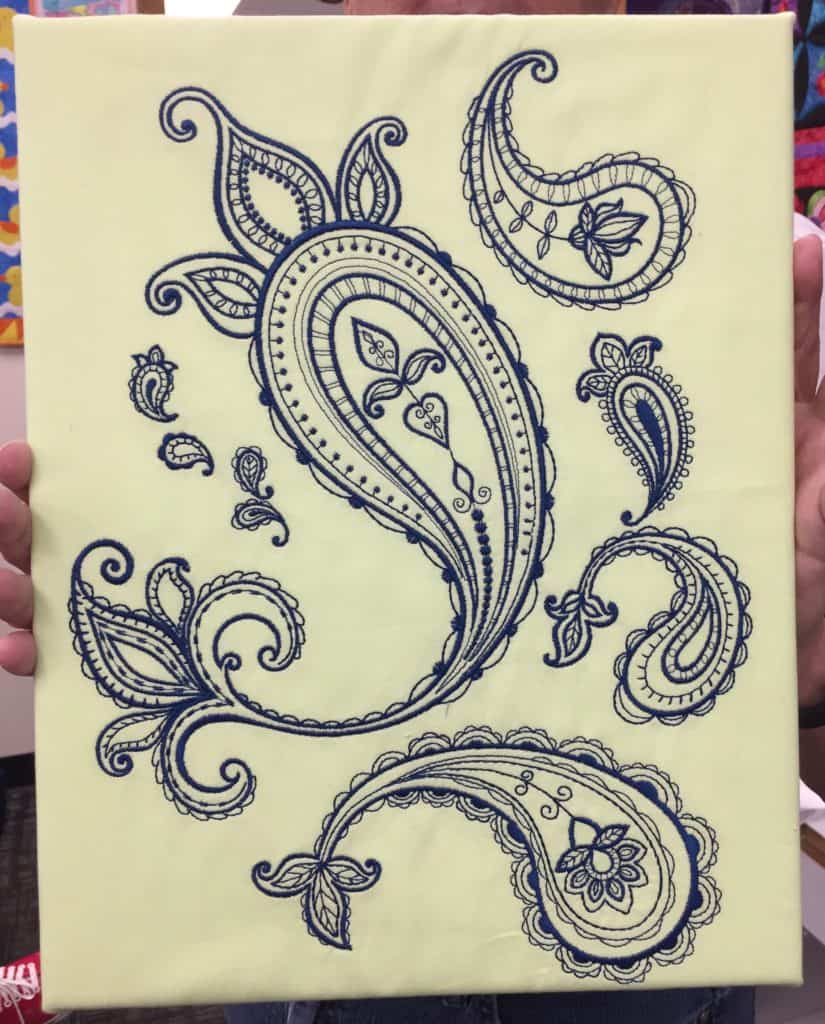
Frame your Paisley art. Built-in embroidery design from the Husqvarna Viking EPIC sewing machine.
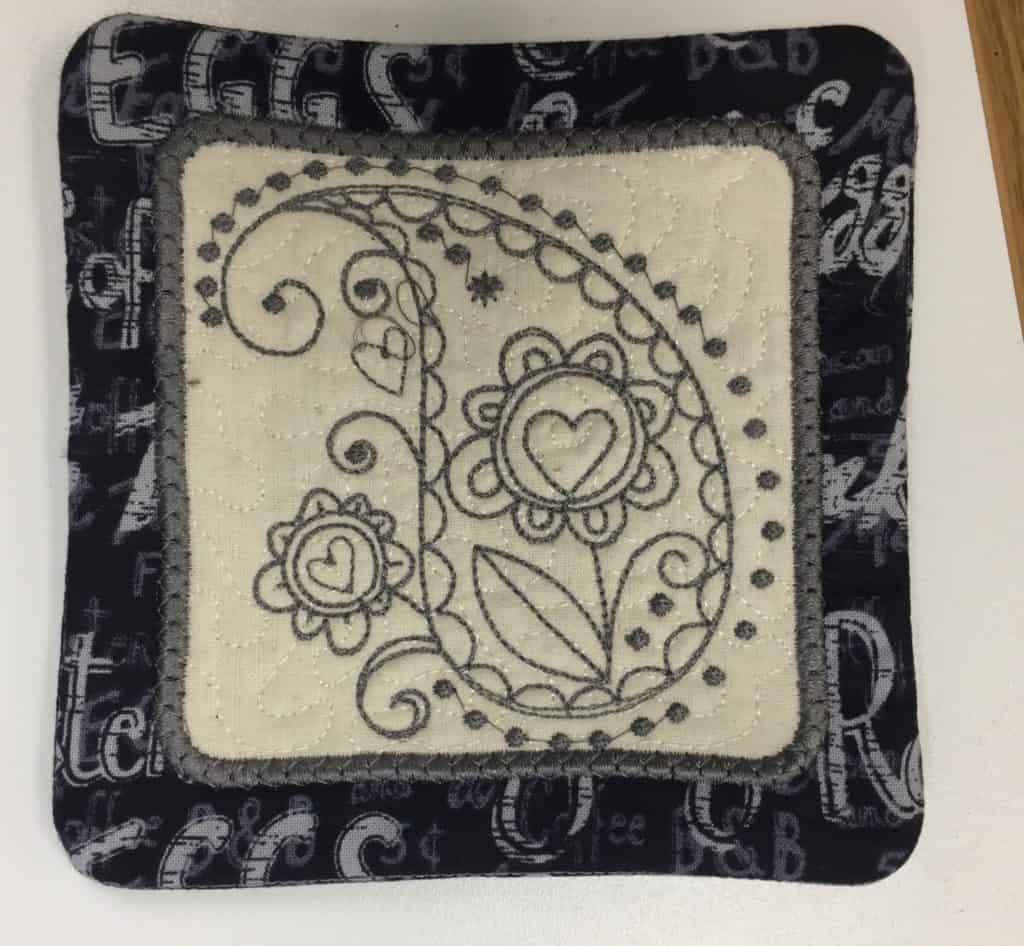
Paisley coasters are the best!
Paisley handwork.
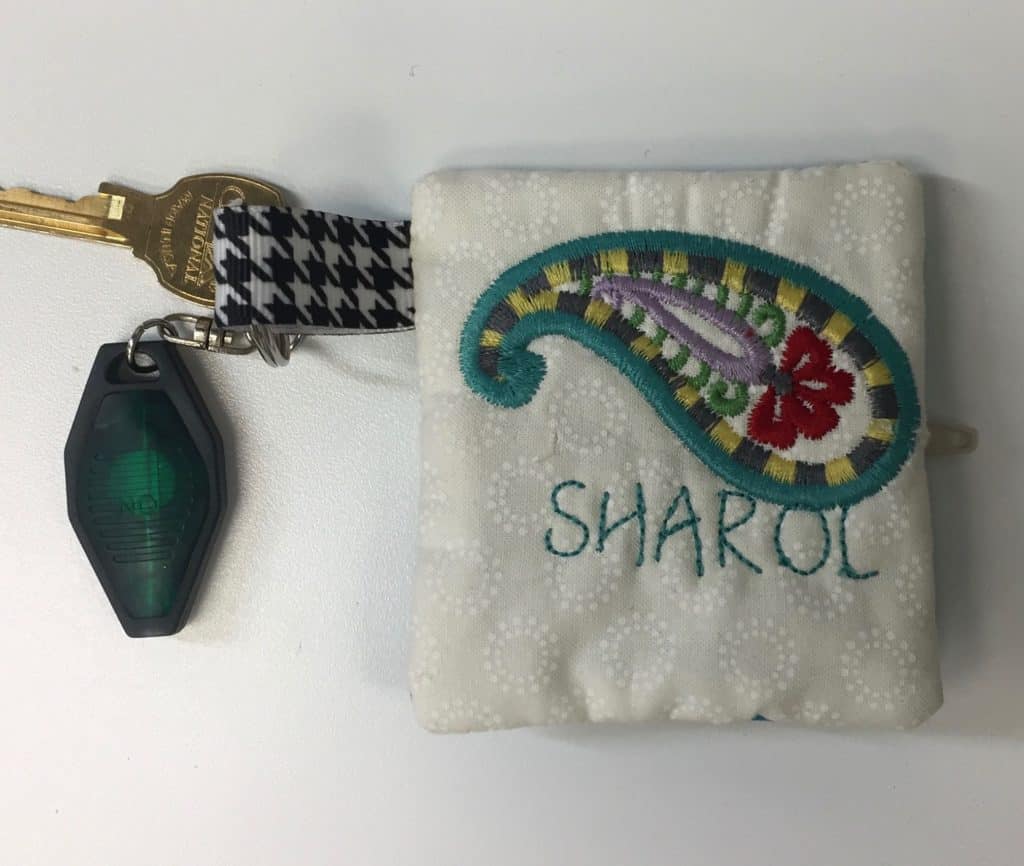
Paisley design on an embroidered zippered bag.
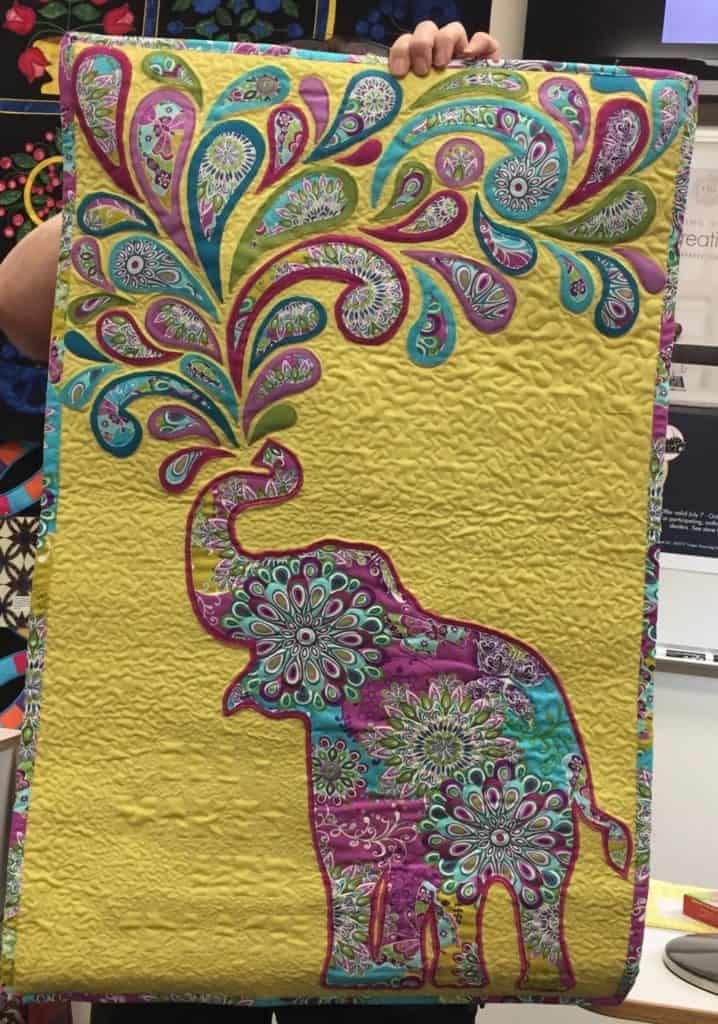
More elephants and Paisley!
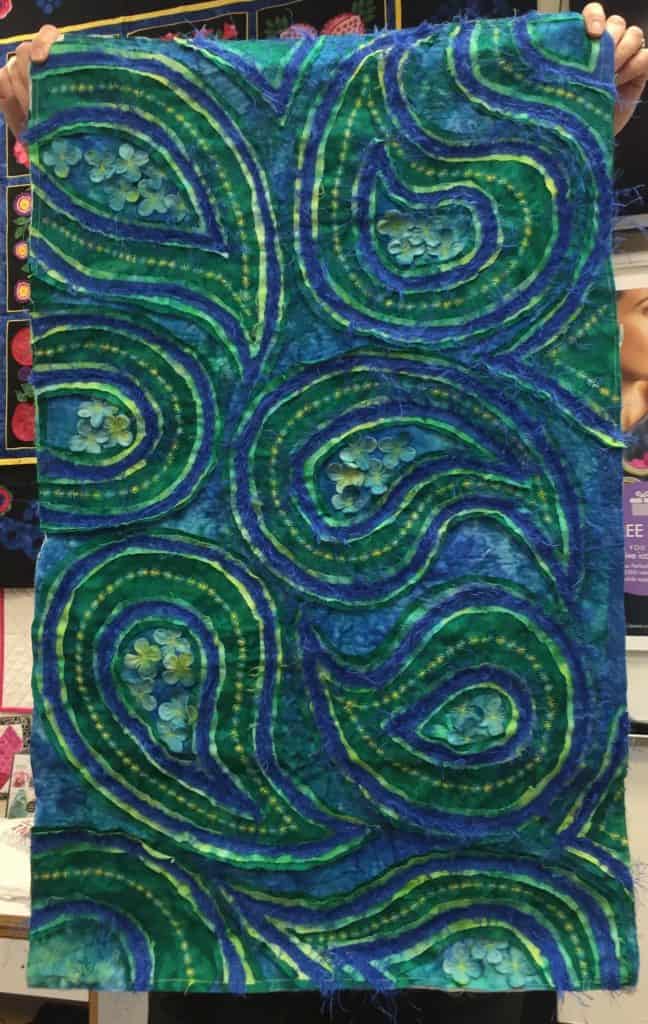
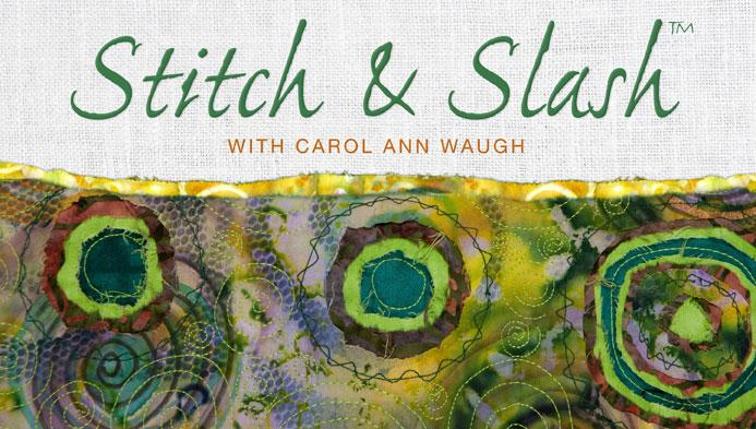
Inspired by Carol Ann Waugh’s Craftsy online class “Stitch & Slash”.
Click here to preview the Stitch & Slash class and technique.
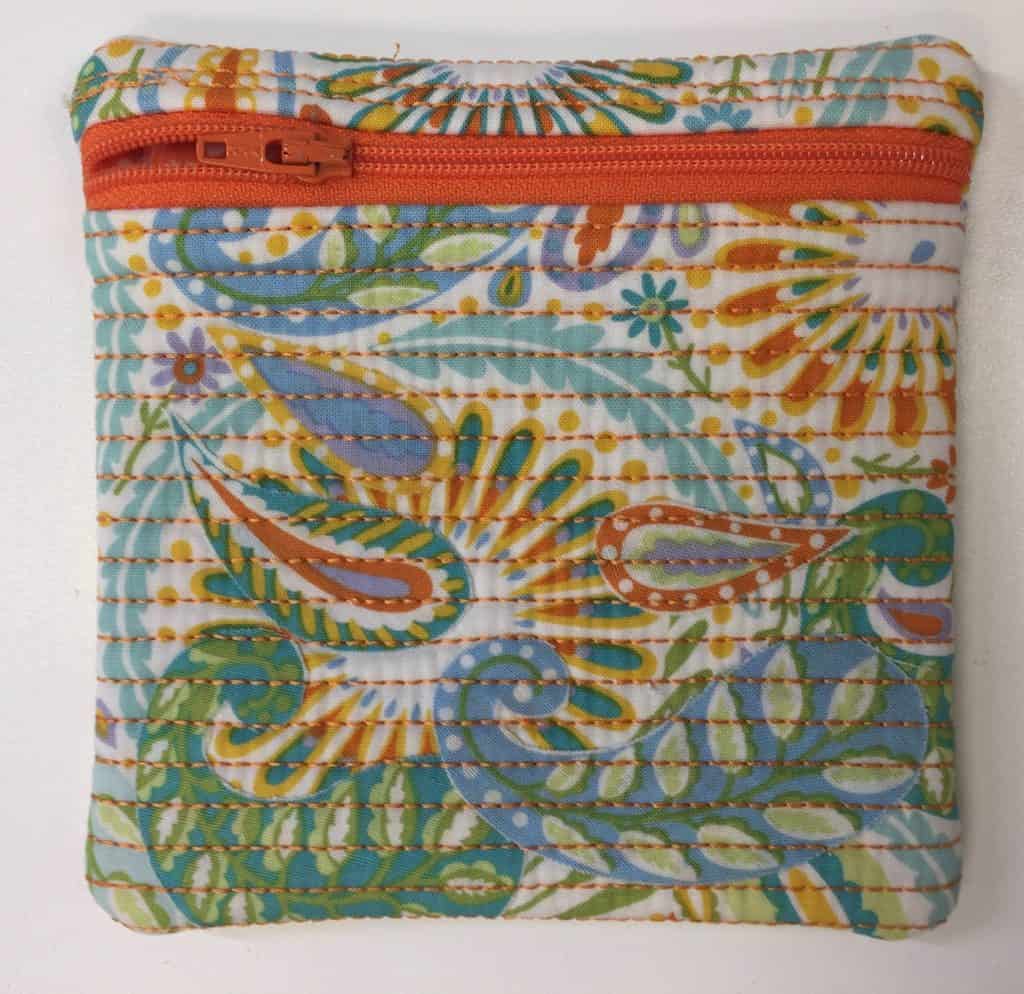
Paisley fabric shapes were cut out and collaged together to create the fabric used to make the zippered bag.
Designs from Designs in Machine Embroidery (DIME).
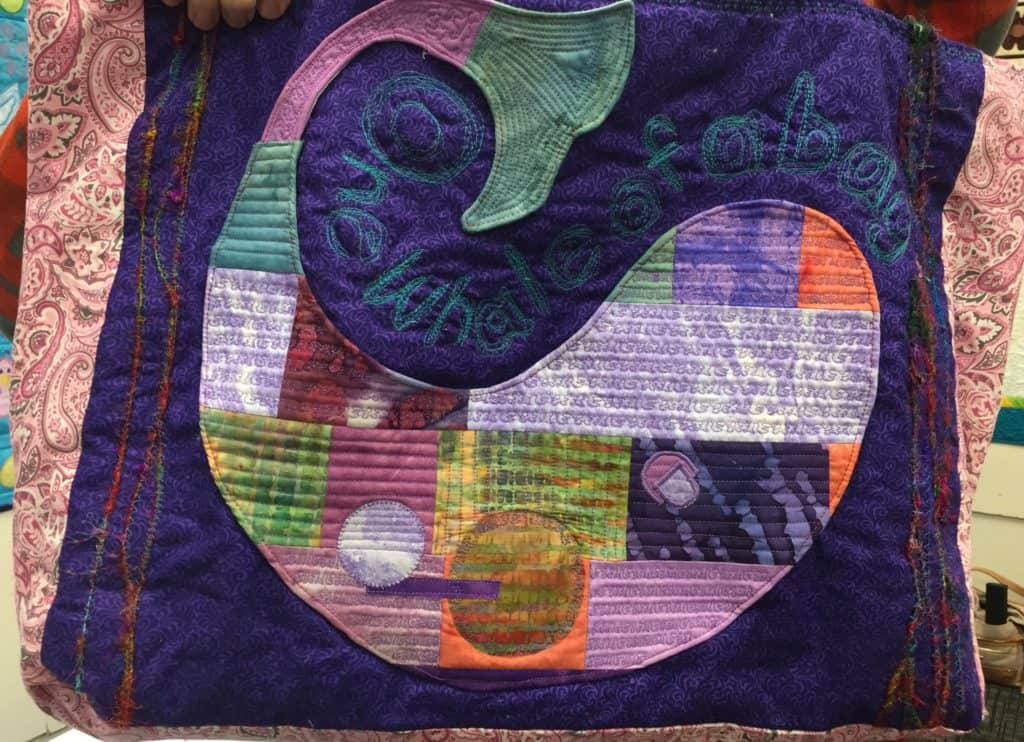
“One Whale of a Bag”
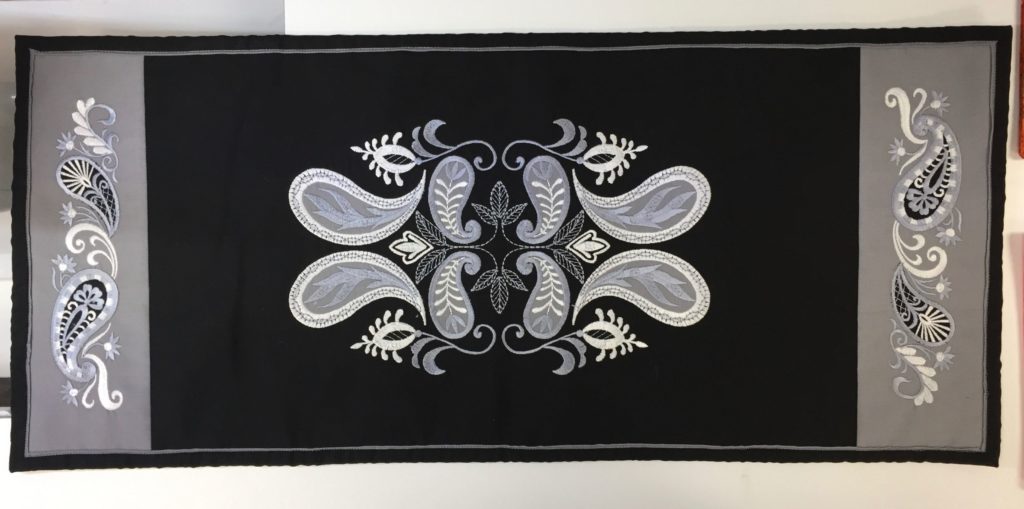
Amazing embroidered table runner