

As Seen on Keloland Living!
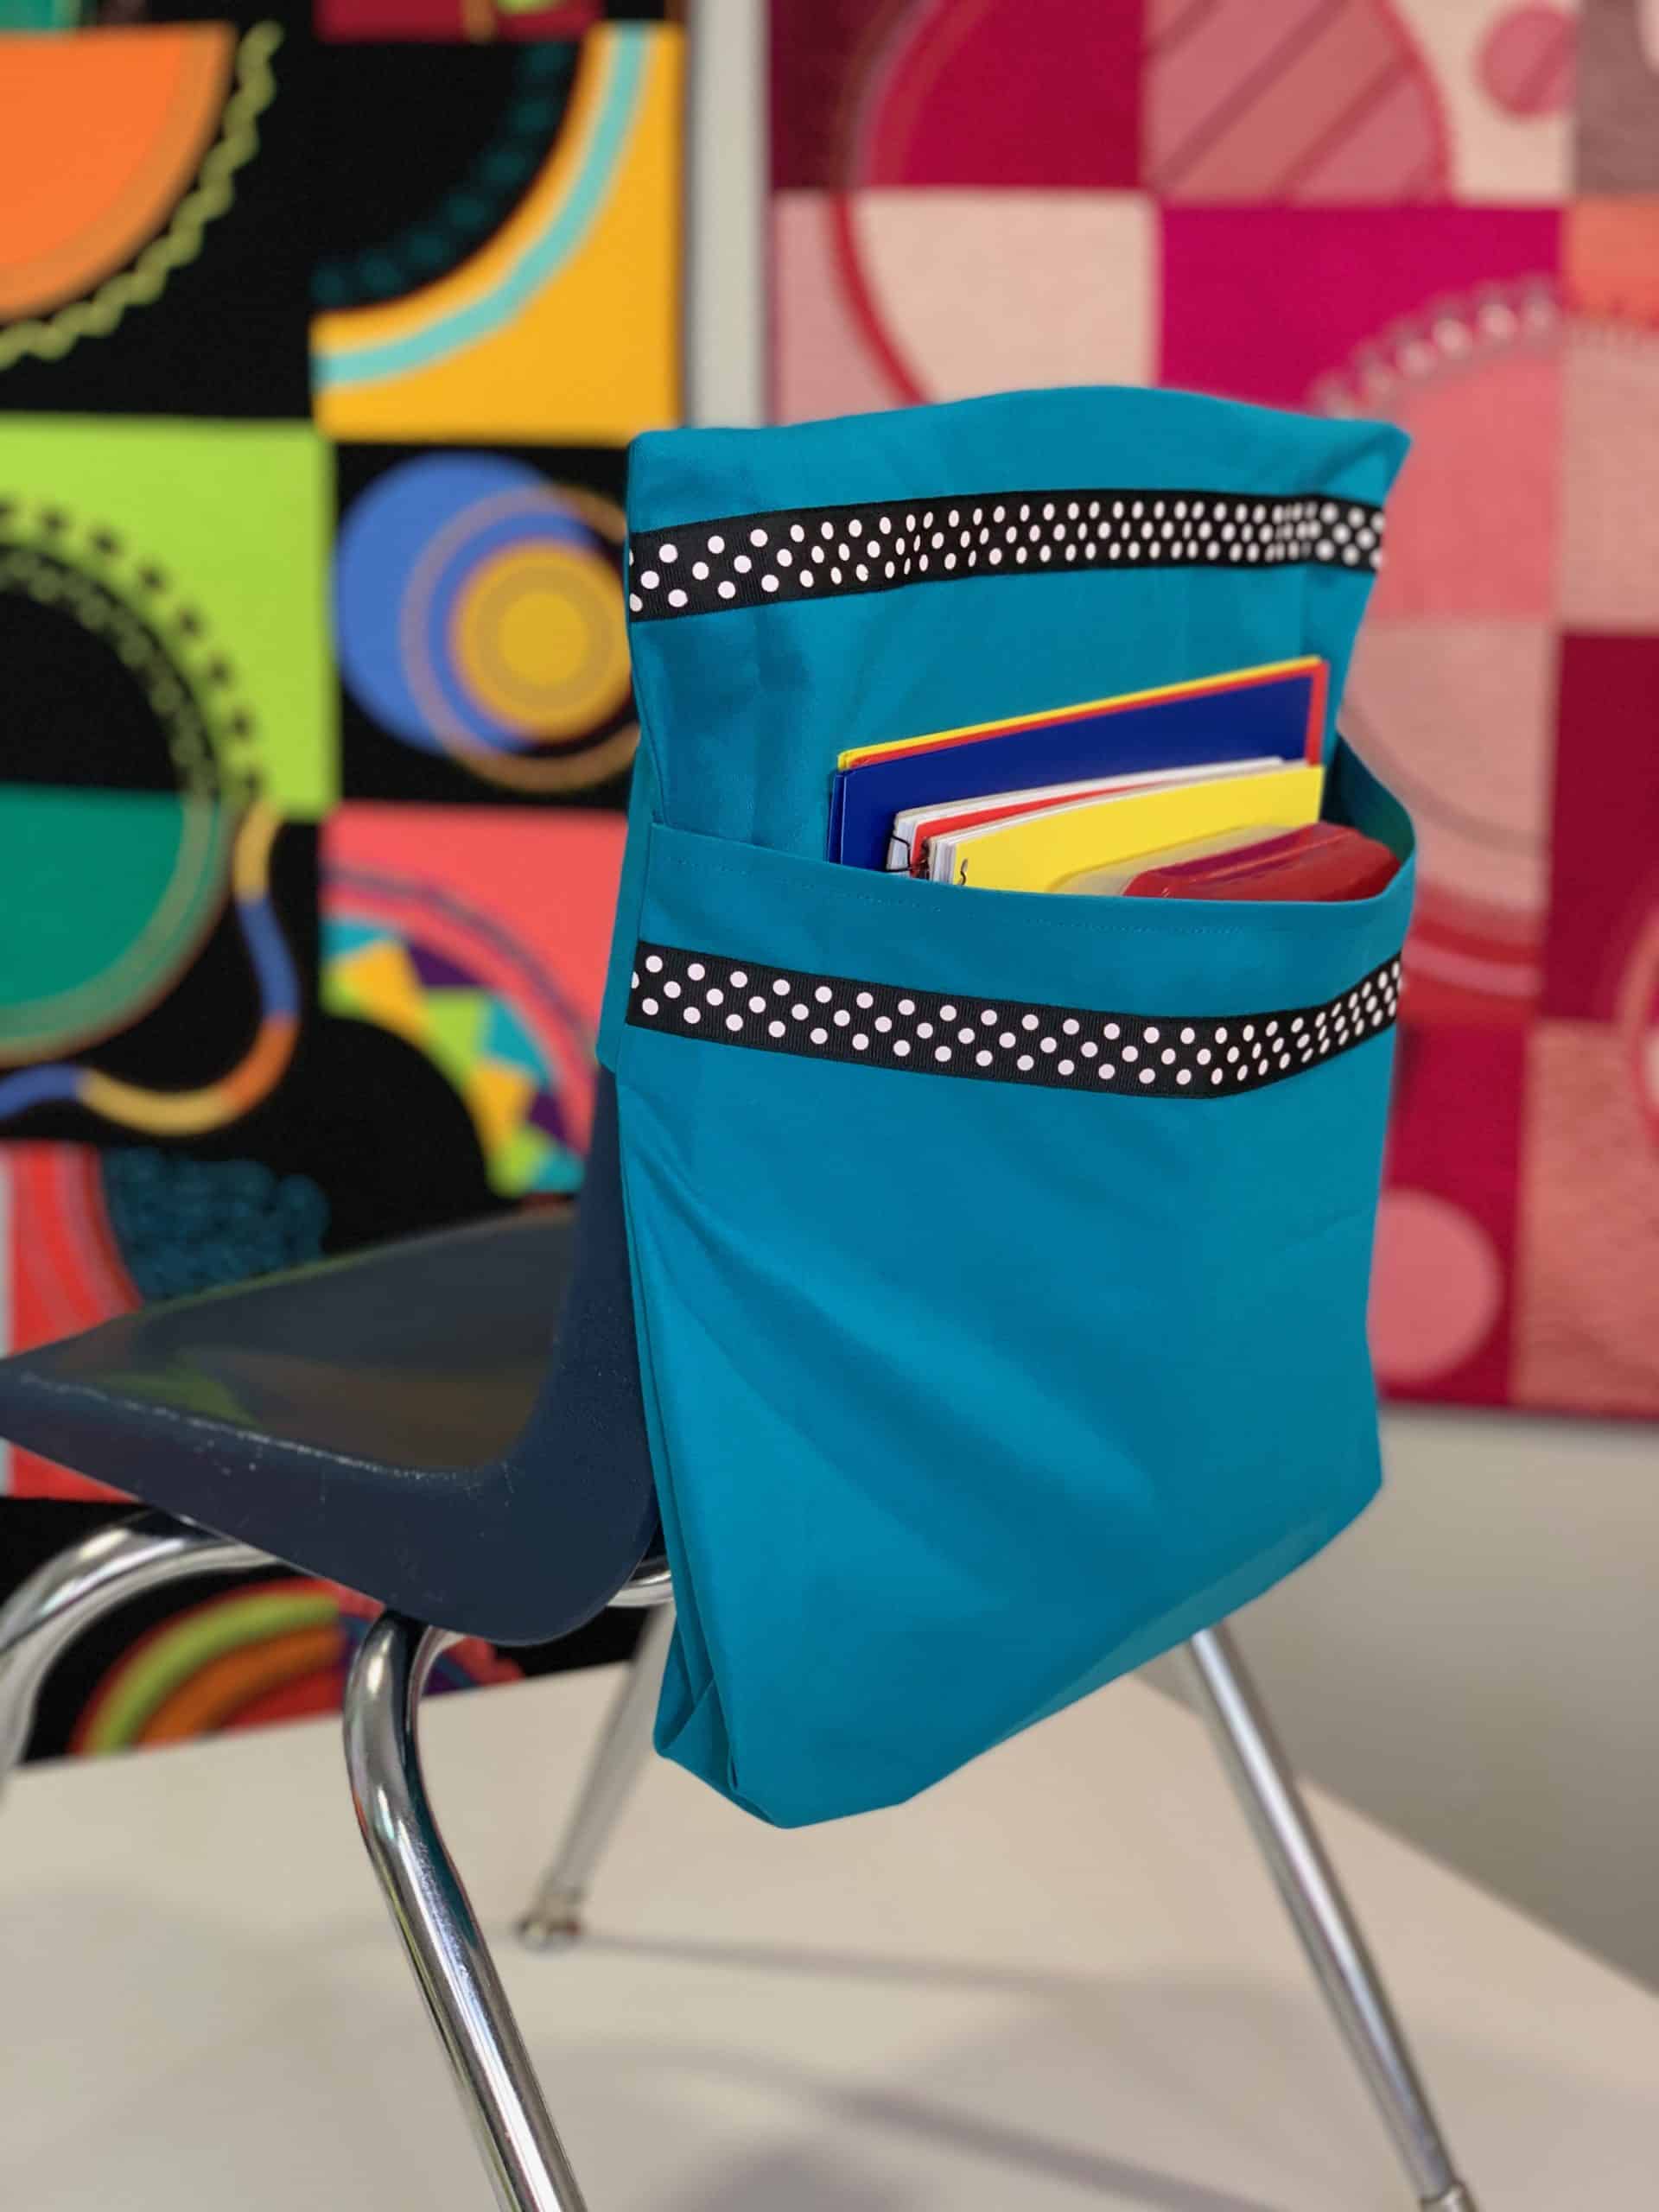
Over-the-Chair organizers are perfect for younger grade students Kindergarten through 2nd grade. With school being a bit different this year, young learners will have less sharing of supplies and will be needing to keep their own items safely stored away from other students. These over the chair organizers can help teachers keep students in their seats when moving from one subject to another.
This pattern is designed to be adapted to any size of chair and can be enlarged to hold additional books and school supplies as needed.
Often beginner grades do not have traditional desks with storage, just tables and chairs. These chair organizers can be an easy solution for teachers to help keep everything in one place.
Check with the Teacher First
Check with teachers first to see if this type of chair organizer would be helpful in their classroom. Teachers often have other storage solutions already in place. By offering to make chair organizers in the future this can quickly open a creative door for say a special Spring Read-A-Thon event or another unique learning segment.
Sara’s Tip
I recommend making a practice chair cover to test size and pocket depth. It took me a few tries to create this pattern to fit. Don’t be discouraged if it doesn’t come out perfect the first time.
Fabric Selection
Fabric recommendations include denim, twill, or canvas. Plan for approximately 1/2 yards of fabric per chair. For 20 students, purchase 10 yards of fabric. Cotton fabric is not a good choice because of the wear and tear these seat covers are going to take.
This original pattern will fit a small 14” wide chair. For larger chairs, measure across the back of the chair and widen the fabric dimensions.
Download a FREE Over-the-Chair Organizer pattern here.
Sewing Directions:
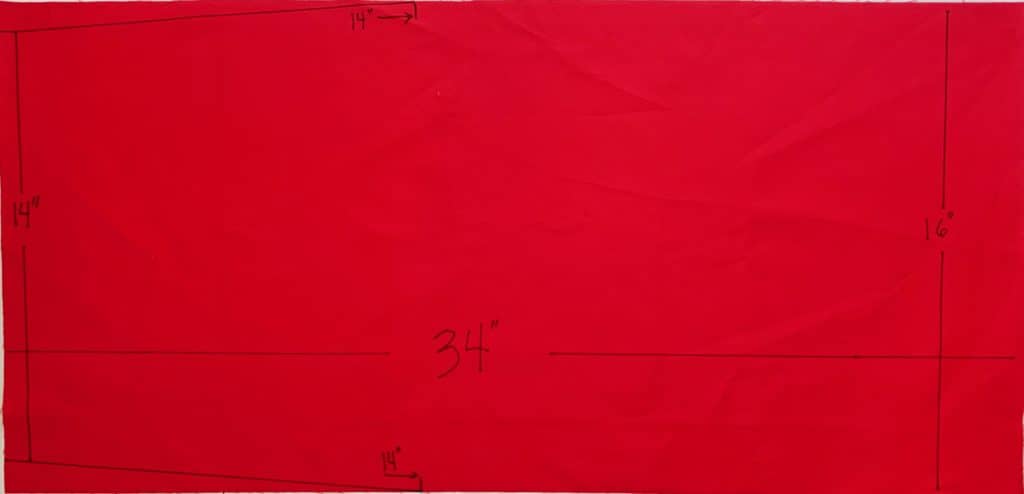
- Cut fabric 16” x 34”.
- On one end taper the end to 14” wide and cut off excess fabric as marked below. This will be the end that will go over the chair back. Embellish as desired.
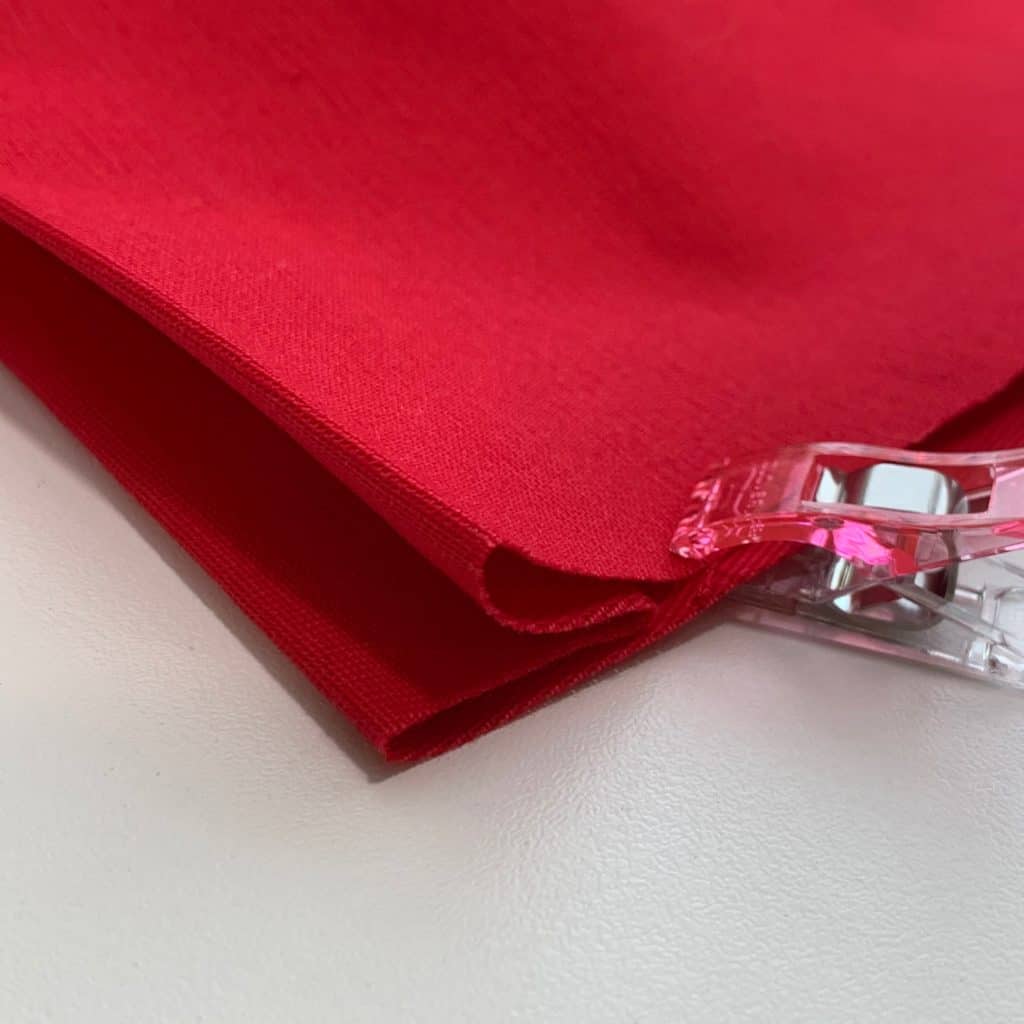
- Hem each short end by turning the fabric 1/2” and press. Topstitch in place. NOTE: Ends are folded in OPPOSITE directions. Fold the 14” end to the wrong side of the fabric and and fold the 16” to the right side of the fabric and topstitch. If using fabric that has two different colors on each side, the chair organizer will be two-toned when completed.
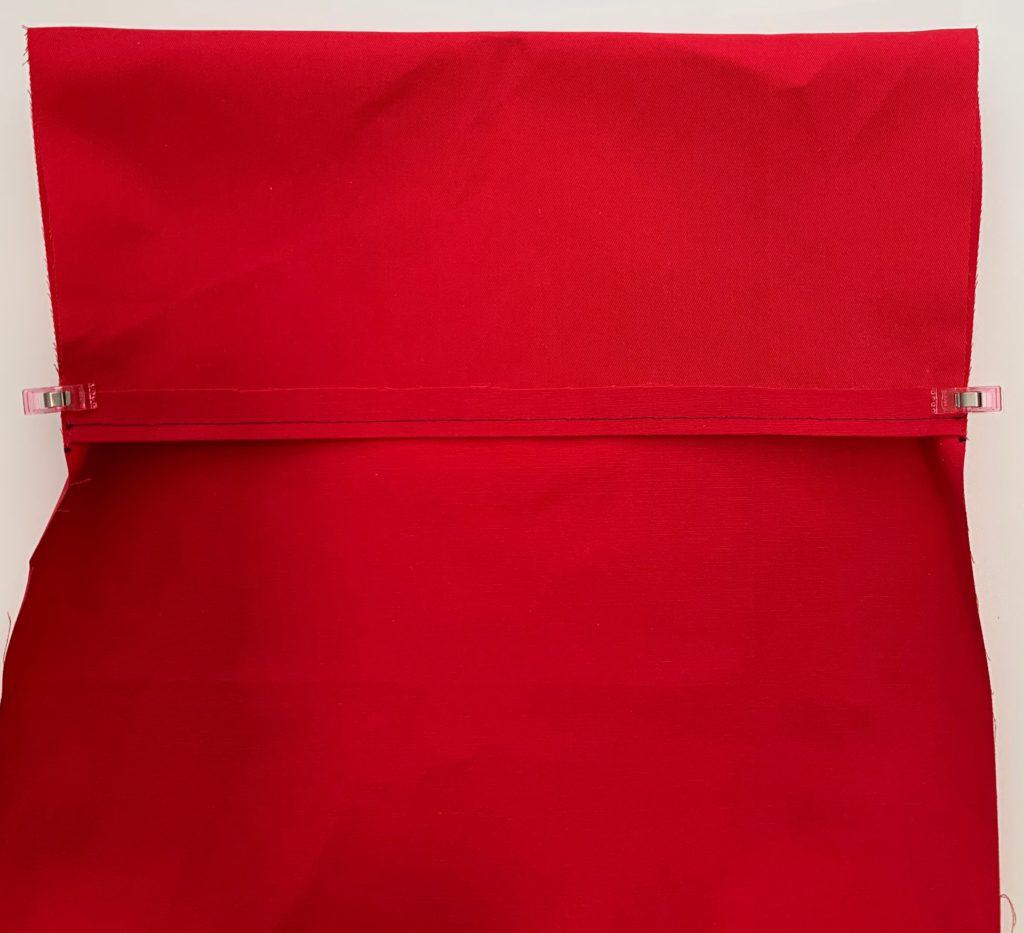
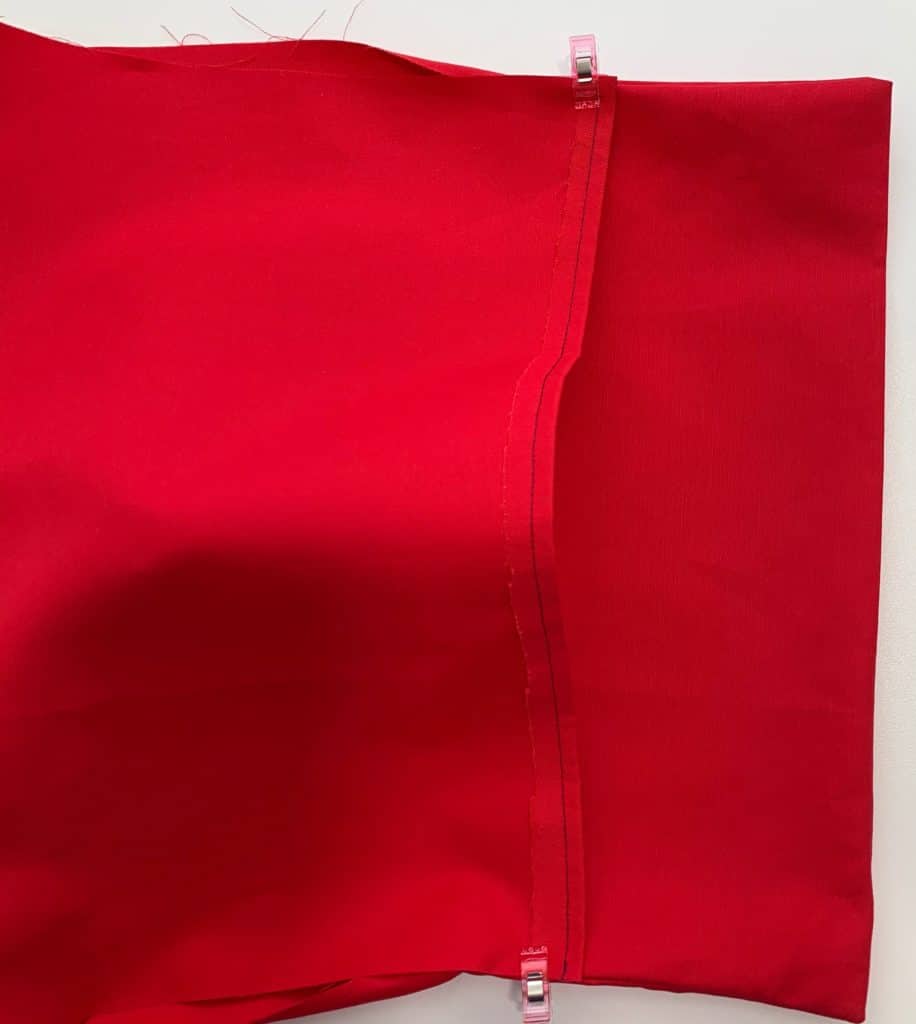
- Fold the 14” end right sides together down 6”. The edges will not match. Pin each edge even with the side of the organizer. Stitch with a 1/2” seam allowance or use the edge of the sewing machine’s presser foot as a guide.
- Turn chair cover right side out.
- Fold the 16” hemmed end up past the finished over chair pocket overlapping approximately 2”. Pin in place.
- To create the extra room for more books and folders, fold the end in 1” and pin. To create a larger pocket end for more books, tuck fabric in up to 2” more. The length of the chair cover should be lengthen from 34” to 36’ to accommodate the extra tuck.
- Aligning the sides again to be even and stitch with a 1/2” seam allowance down each side. Turn right side out and press flat.
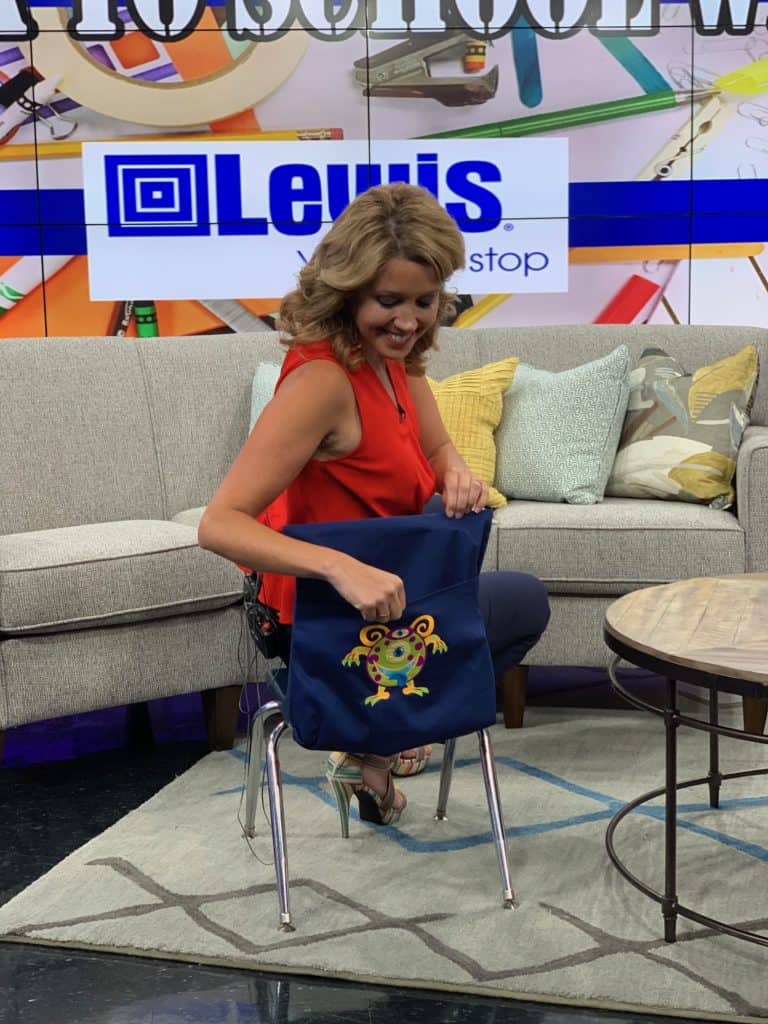
Embellishments & Embroidery
After sewing one plain chair organizer I bet your mind will start thinking of ways to add a little pop of color. Experiment with ribbon and trims. If you own an embroidery machine, consider adding an embroidery design, names, or words like “SUPER STAR” or “TEACHER’s HELPER”.
Do You Own a Serger?
If you own a serger you will find this will be your go-to machine to quickly assemble an entire classroom of over-the-chair organizers!
Thank You!
Thank you Ashley Thompson for having Heirloom Creations as a guest on Keloland Living.
https://www.keloland.com/keloland-living/do-it-yourself/a-diy-for-when-you-cant-share-supplies-over-the-chair-organizers/