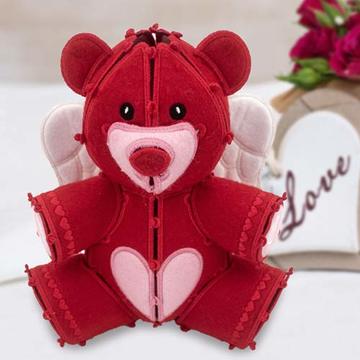
This adorable free standing Valentine Teddy Bear embroidery design is created in sections and buttoned together. Use any fabric from felt to fur to create a one-of-kind Valentine friend.
From the industry leader of free standing lace designs, OESD (Oklahoma Embroidery Supply & Design), check out their latest twist to this national holiday. Standing over 8″ tall and featuring angelic applique wings, this adorable teddy is ready to share the love with a “beary” special someone this Valentine’s Day!
Click here to purchase and instantly download the “Valentine Teddy Bear” embroidery design collection with full color step-by-step instructions. All you need is a roll was AquaMesh stabilizer, fabric and thread to match to enjoy an afternoon of embroidery.
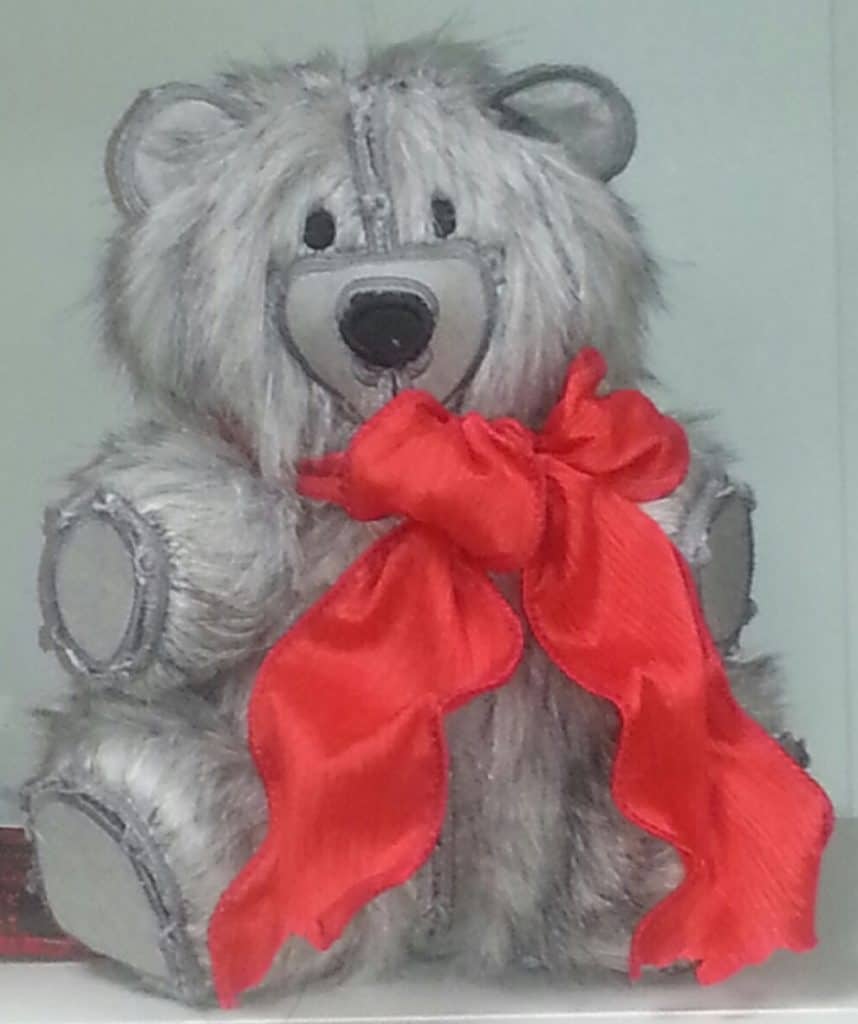
Want to spice things up? Skip the felt and opt to use a faux fur or even Cuddle fabric!
Created by Micah Chapman
Recommended Stabilizer
AquaMesh stabilizer is recommended to easy turn these embroidery designs into free standing button-together Teddy Bear parts and pieces. Each button and loop is perfectly positioned around the design for easy assembly of this 3D Valentine Teddy Bear.
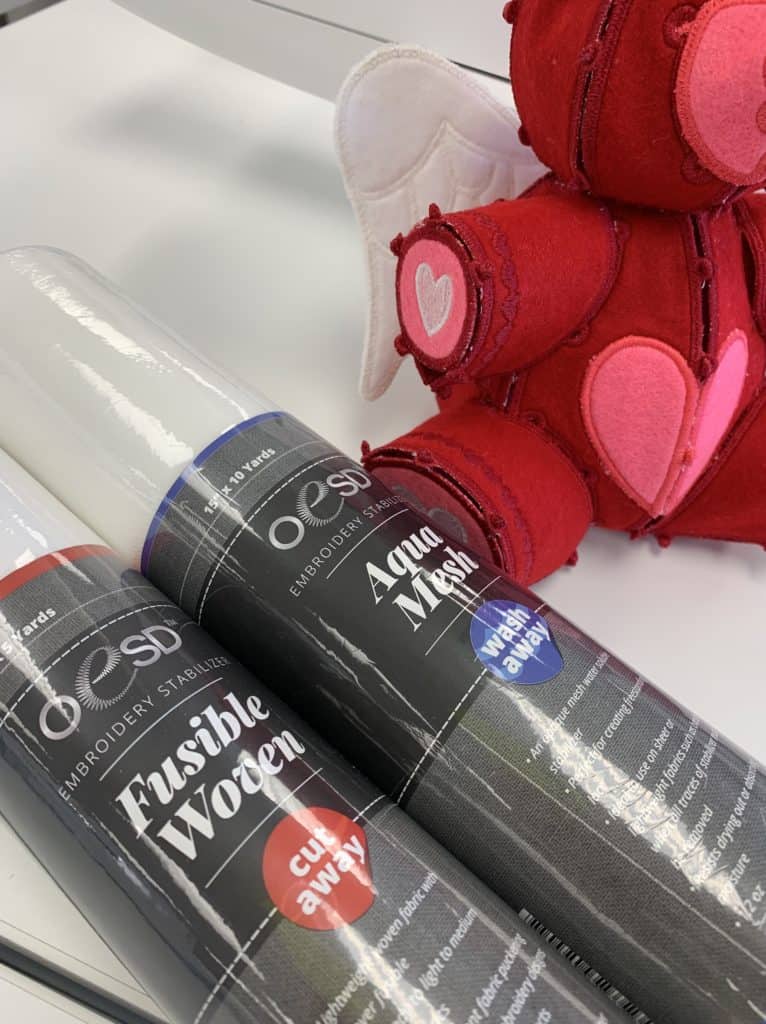
Fusible Woven Stabilizer
It is also recommended to iron on Fusible Woven stabilizer to back of the bear’s body fabric. This will keep the bear standing up straight and tall after the AquaMesh stabilizer has been washed way. No one wants a droopy bear!
Save stabilizer and time by combining more than one Teddy Bear sections within a single hooping.
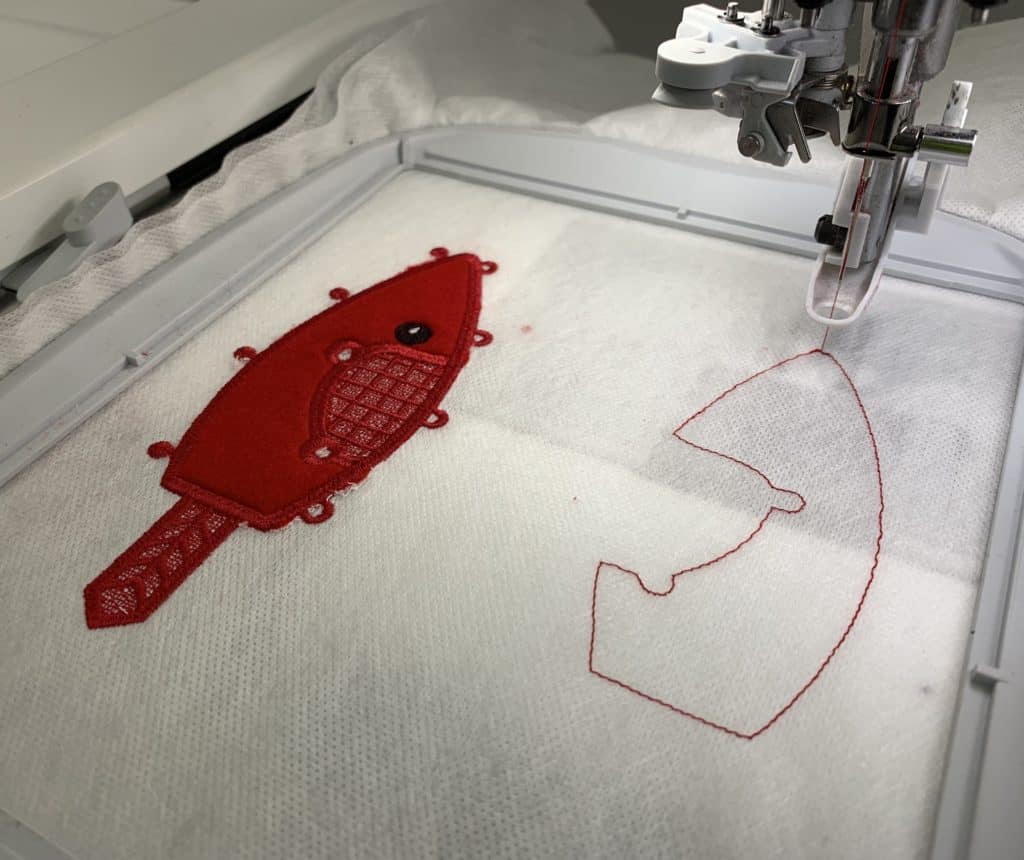
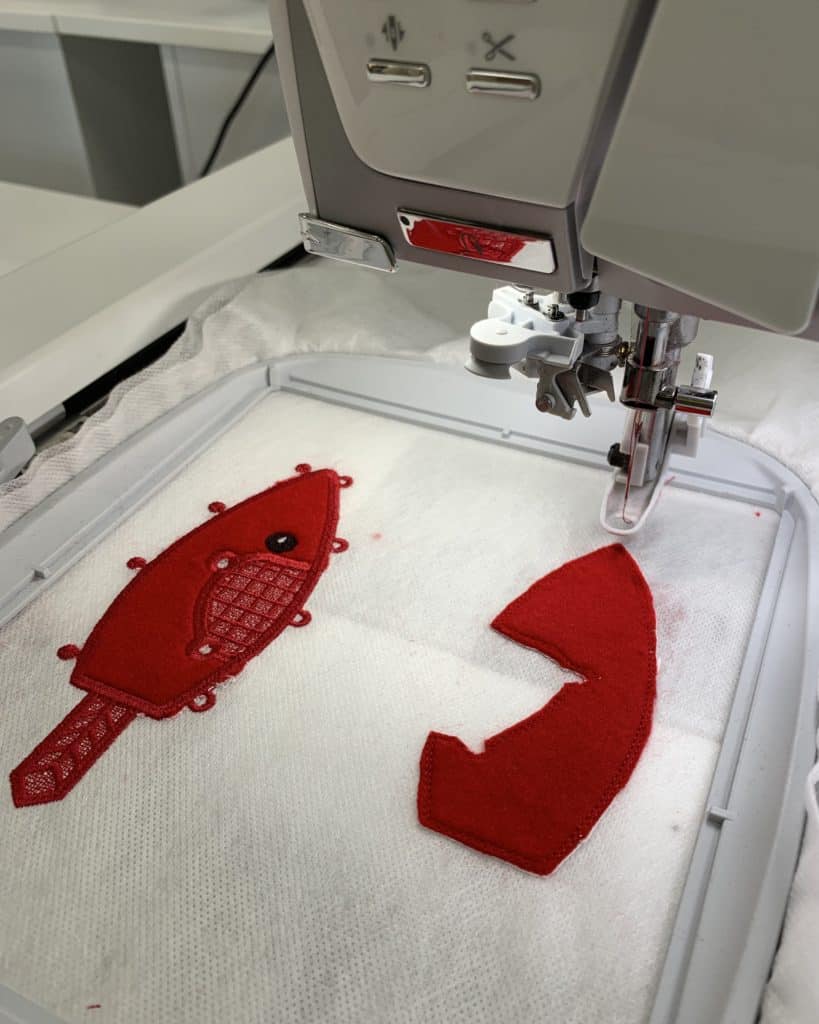
Start by hooping two layers of AquaMesh stabilizer. Bear pieces are created using an appliqué style of placement and trimming technique.

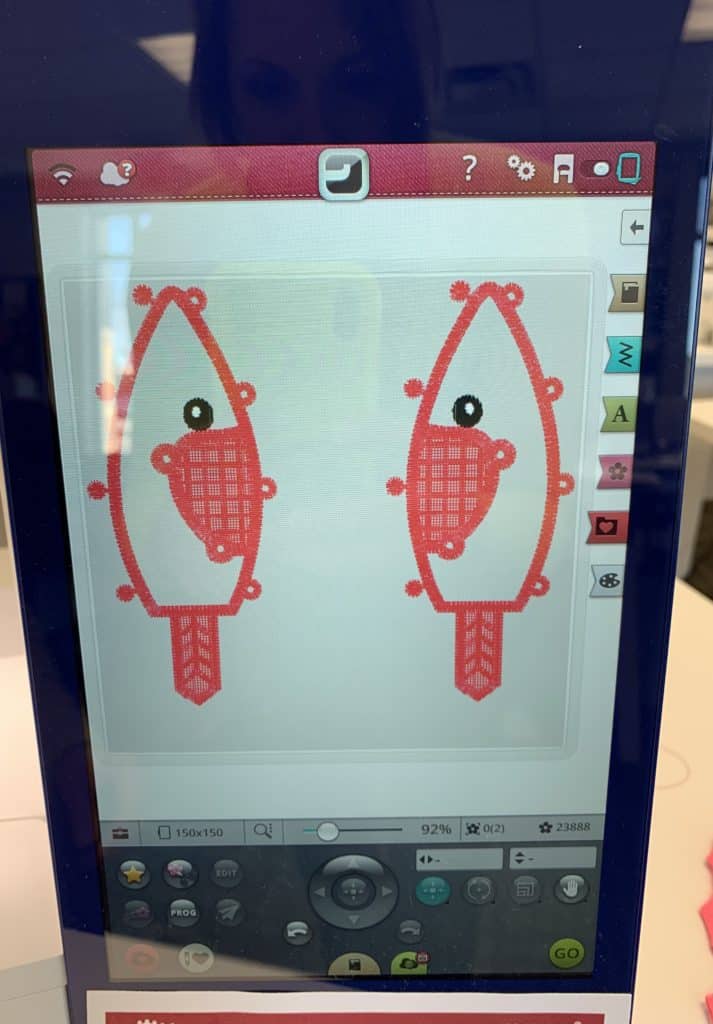
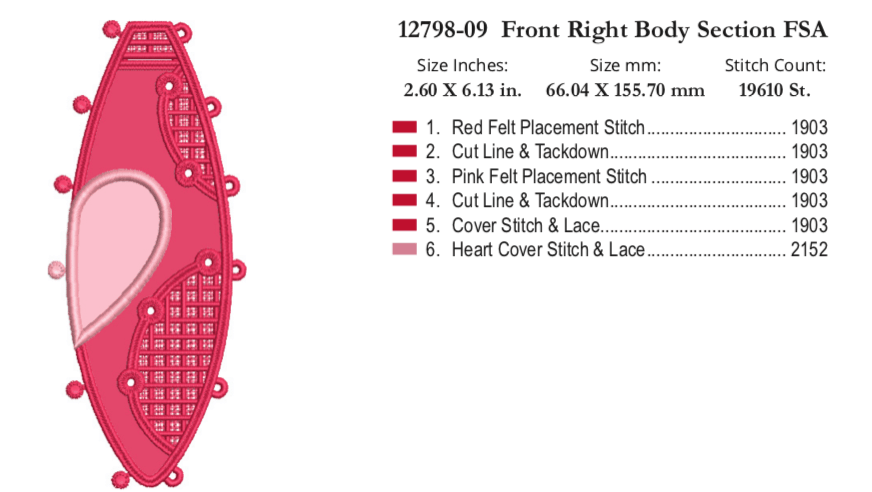
Designs are easily defined with step by step instructions, size and stitch count.
After all Valentine Teddy Bear pieces are embroidered, rinse out all AquaMesh stabilizer. Once dried, work through the included PDF for precision assembly.
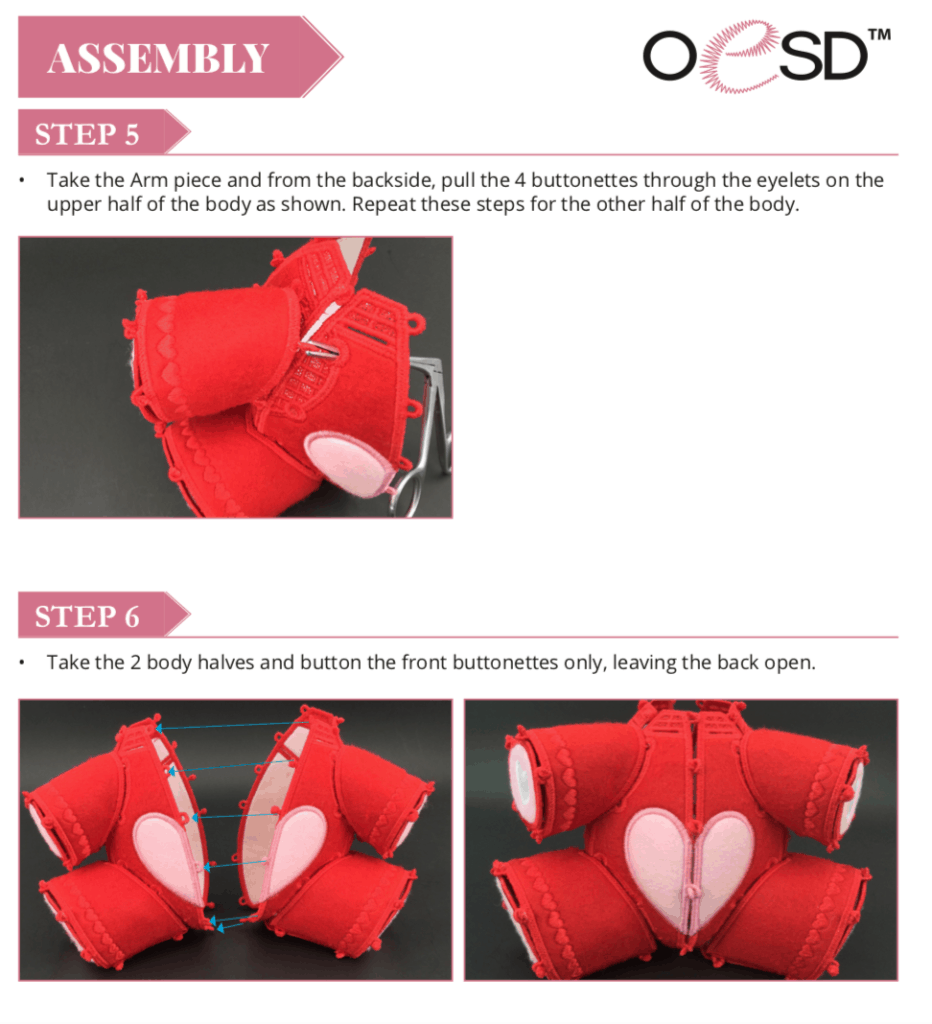
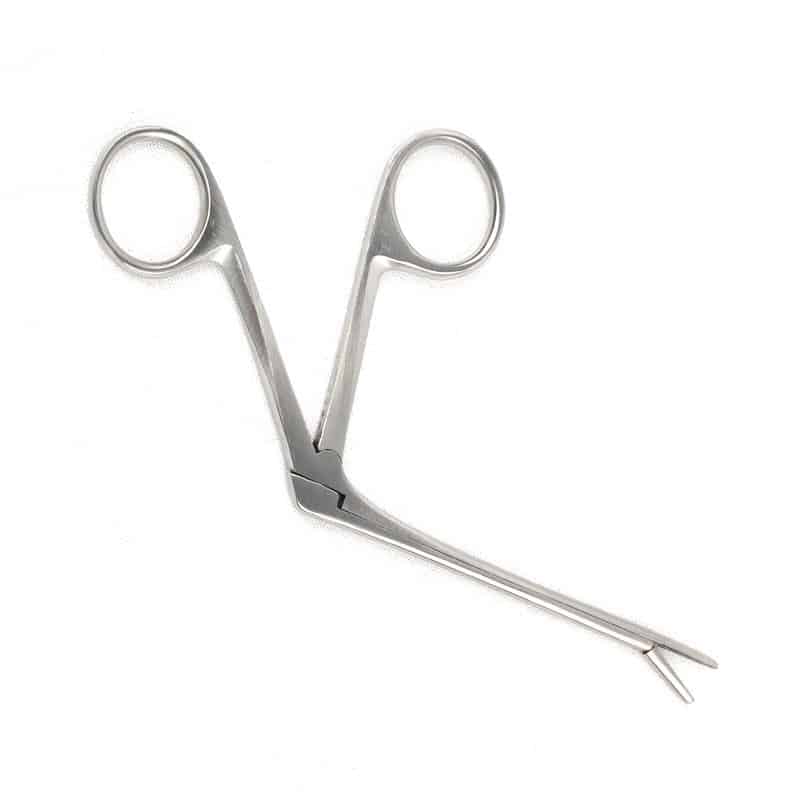
Alligator clamps are the key for easy “buttoning” of any 3D embroidered designs. These clamps can be slipped through the buttonholes, clamp down on the button and pull it through. This part of the assembly process is not fun, but alligator clamps make it possible. See below how the alligator clamps assist in pulling the loops through the buttons.
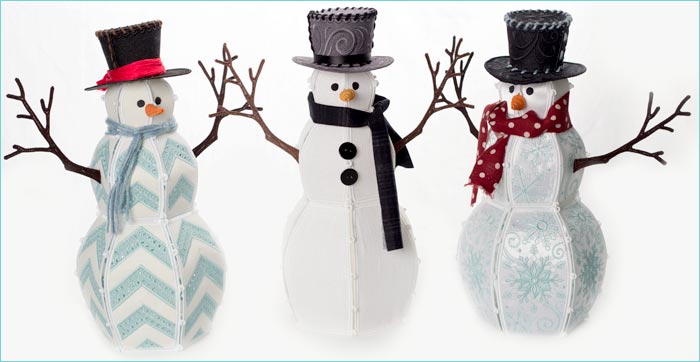
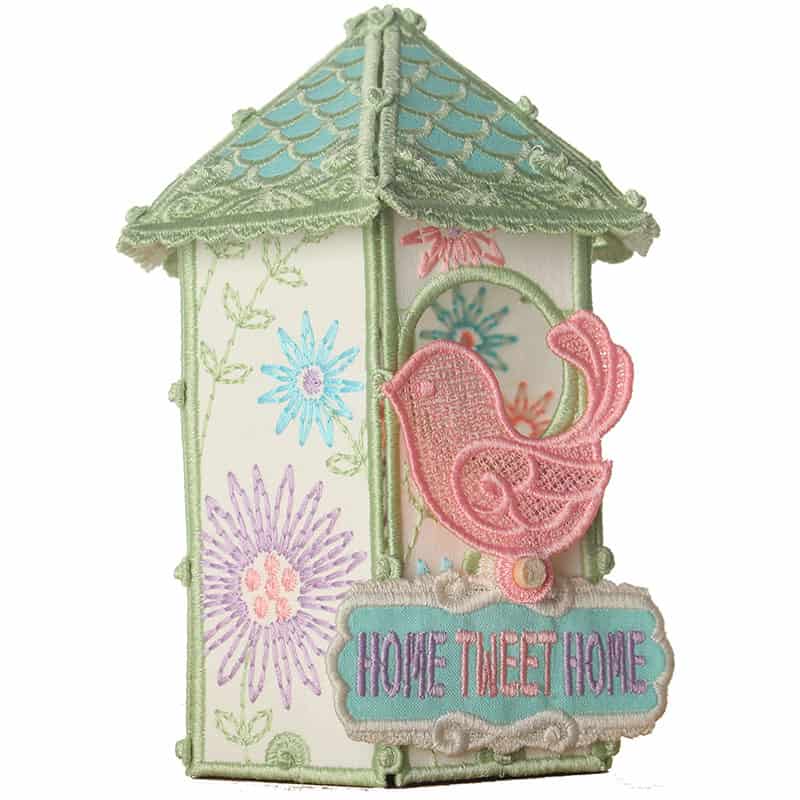
If you love the idea of embroidering your next holiday centerpieces, check out other free standing lace designs such as the Christmas Village, Santa’s, angels, ornaments and snowmen.
Start a new tradition of embroidering long lasting holiday items. You already own an embroidery machine, now let’s get using it!
Want to learn 14 other embroidery techniques like these free standing designs? Check out our popular Embroidery Essentials online course.