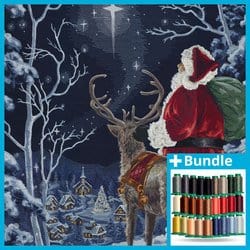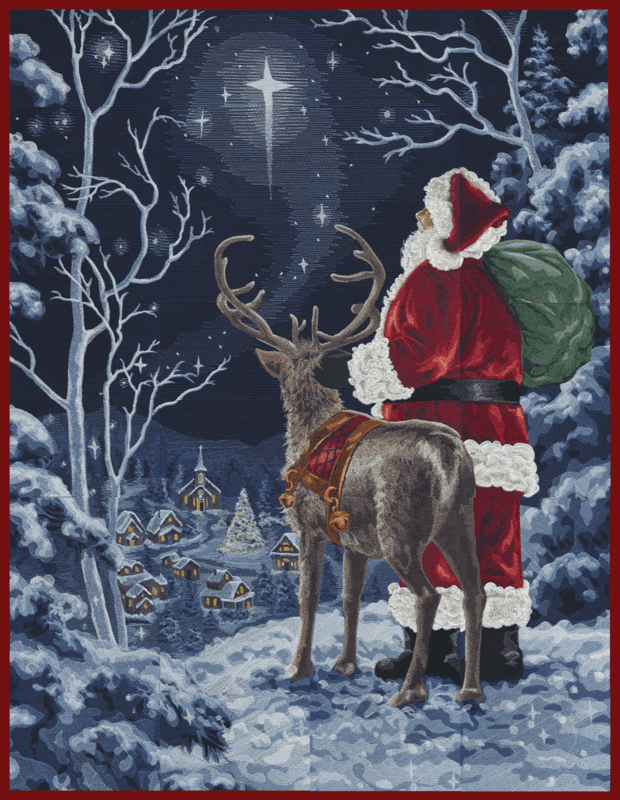
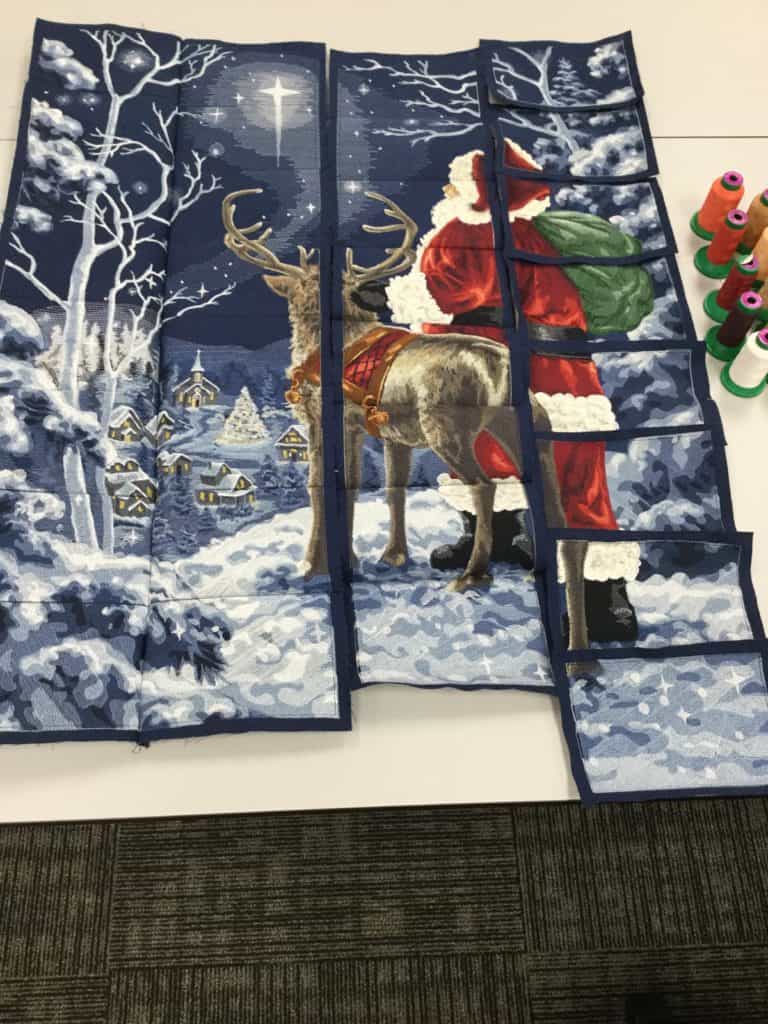
OESD brings its embroiderers a peaceful, holiday tile scene to embroider as their very own. Join artist, Dona Gelsinger, as her beautiful “Starry Night Santa” artwork is turned into amazing shaded detail with thread and stitches.
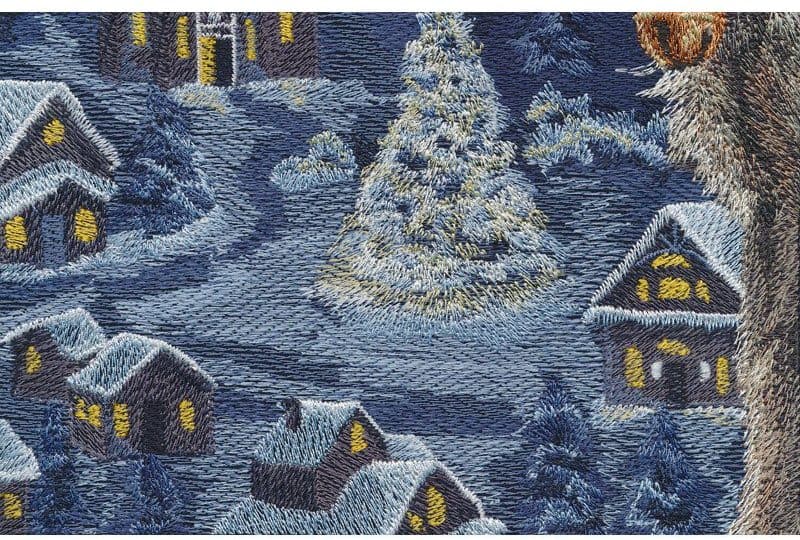
Below we share our EXPERT tips everyone needs to know before tackling these 32 tile scene designs to create this treasured 32″ x 40″ keepsake.
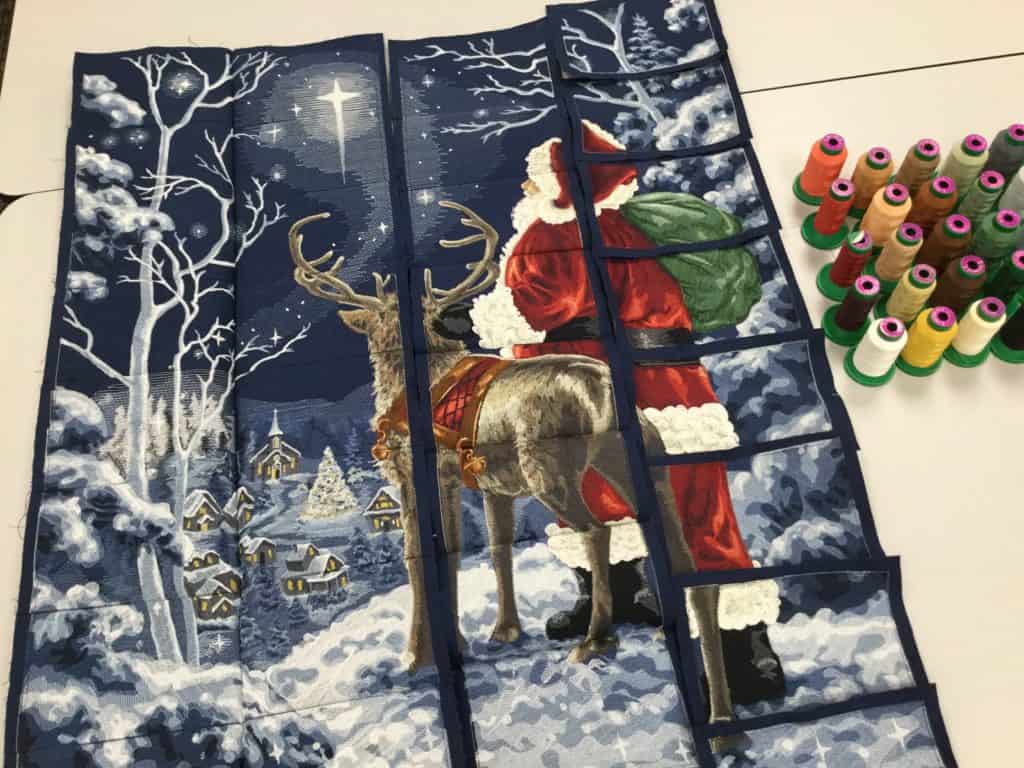
Each tile scene stitches out approximately 4.5” x 6.75”. The beauty of these postcard-sized designs is their smaller size makes them easy to handle and easy to accomplish one by one. As you look at the finished photo, you will find many of the blocks are simple background filler blocks, where others are a bit more heavily stitched. Should a block not turn out to your liking, simply start over and try again.
OESD Tile Scene Stabilizer
For the blocks that are heavier stitched, the correct stabilizer is key. Cotton fabric is an excellent choice for the base of the Starry Night Santa tile scene, but it needs some additional body fused to the back of the fabric to support the blocks with the higher stitch counts.
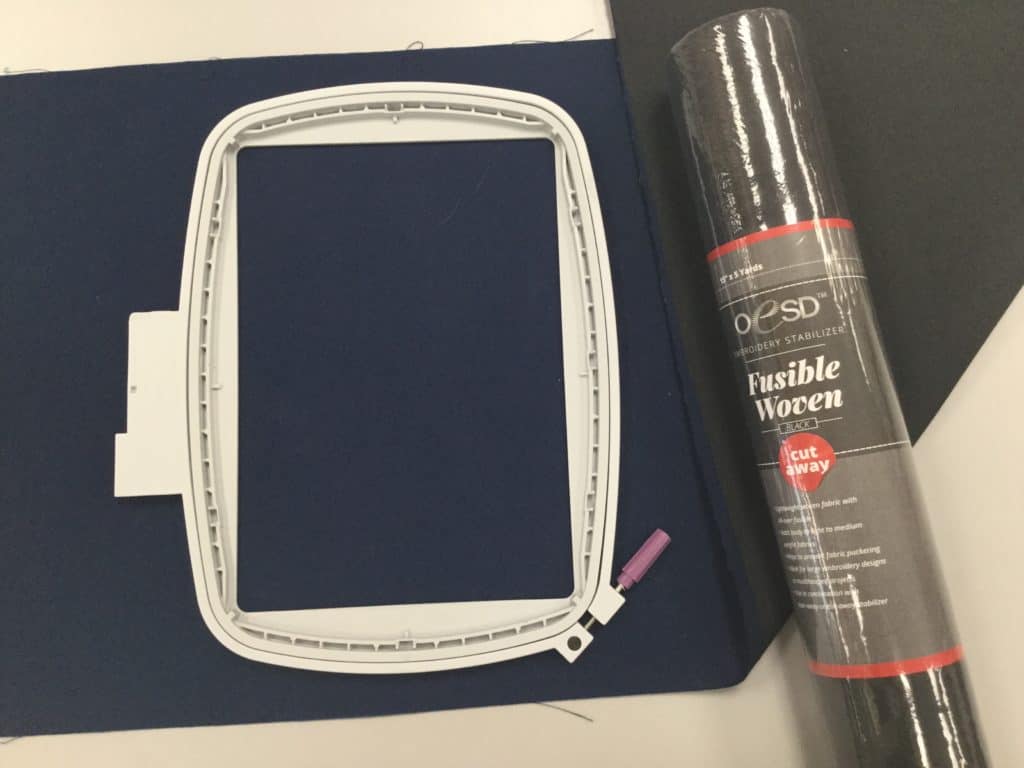
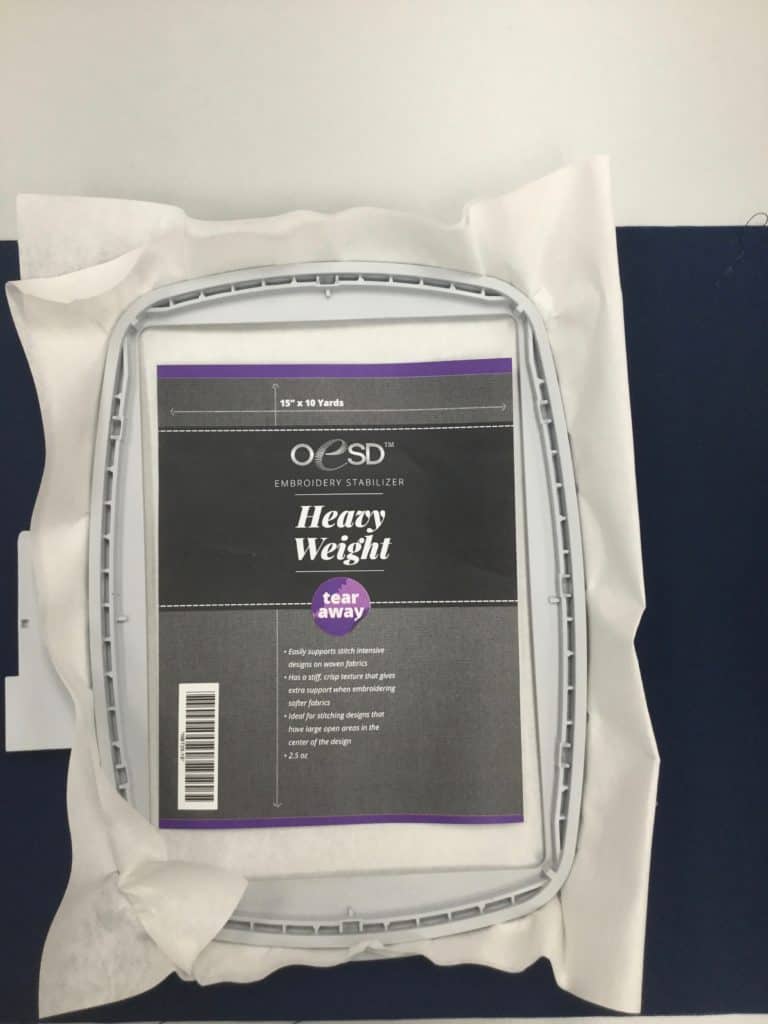
Start by ironing OESD Fusible Woven stabilizer to the back of the background fabric. Hoop the fused fabric with two layers of OESD HeavyWeight TearAway. The extra stiffness of the TearAway stabilizer is the KEY to having blocks stitch out flat. Temporary spray adhesive can also help keep all the layers securely together.
Isacord Thread Colors Used for the Starry Night Santa:
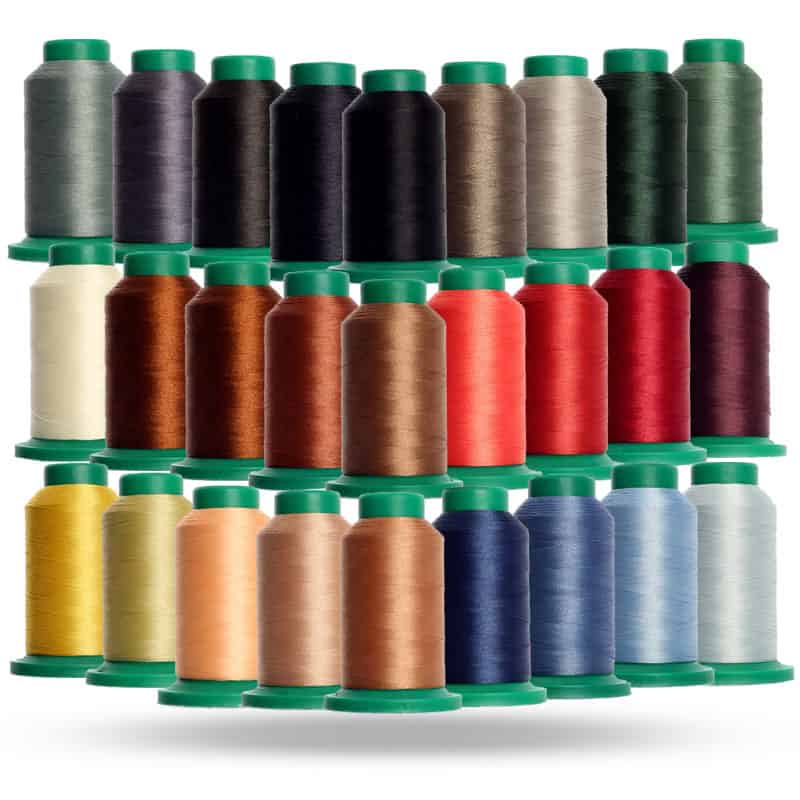
The following is a list of Isacord threads used to complete the Starry Night Santa tile scene. Starry Night Santa thread kits are also available.
0015 White
0020 Black
0138 Heavy Storm
0532 Champagne
0555 Light Sage
0576 Very Dark Brown
0622 Star Gold
0776 Sage
0853 Pecan
0933 Redwood
0970 Linen
1133 Peru
1141 Tan
1233 Pony
1346 Cinnamon
1362 Shrimp
1521 Flamingo
1725 Terra Cotta
2022 Rio Red
2336 Maroon
2776 Black Chrome
3574 Darkest Blue
3743 Harbor
3951 Azure Blue
3953 Ocean Blue
4071 Glacier Green
5552 Palm Leaf
5555 Deep Green
5743 Asparagus
6071 Old Lace
Tip for Embroidering the Last Color of Each Design – “THE SEAM LINE”
The last color change in each block is called “Seam”. This stitch is very important in the process of assembling the wall hanging. Stitch the top color in a thread that blends with the fabric, invisible thread or water-soluble thread. For the bobbin, use red or another easily visible color. You will use this line as a guide when trimming the blocks.
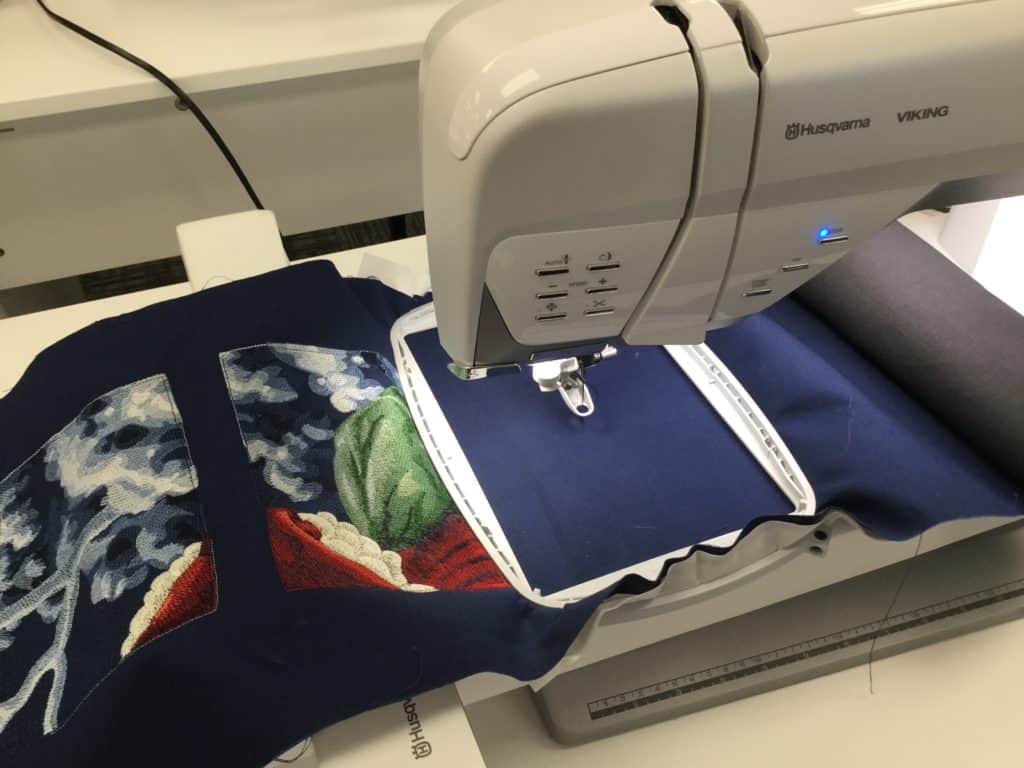
After embroidery is complete, remove excess stabilizer to the edge of the stitching. Then, trim away excess fabric 1⁄2” away from the “Seam Line.”
Sewing Blocks Together & Pressing
Sewing with a 1⁄2” seam allowance and pressing each seam open will help the quilt lie flat when complete. After pressing each seam open, flip it right side up onto an OESD Perfect Embroidery Press Cloth. Press with steam to set the seam.
OESD’s Perfect Embroidery Press Cloth helps press puckers out of embroidered fabric, absorbs steam when using a steam iron and prevents embroidery stitches from getting shiny or crushed by the weight and heat of an iron. The OESD Perfect Embroidery Press Cloth can also be used like a traditional press cloth – place project right side up on ironing surface and place press cloth over the top of the project especially when ironing bulky seams.
Start the Starry Night Santa anytime of the year to have done in time for the next holiday.
Finished Size: 32″ x 40″
Want to master your embroidery machine?
Check out the Embroidery Essentials online course.


